How to create a WordPress based site
Introduction
Most of the content management systems installation packages are distributed in archive packages that has to be unpacked and installed on a server. This article will guide you though how to create a site in FASTPANEL® through the example of installing WordPress as the most popular CMS.
You can create WordPress based site two ways:
Automatic CMS installation
First of all you need to prepare the panel by creating a new site. In order to do that start the Site Creation Wizard by clicking "Create site" button on the right side of the screen.
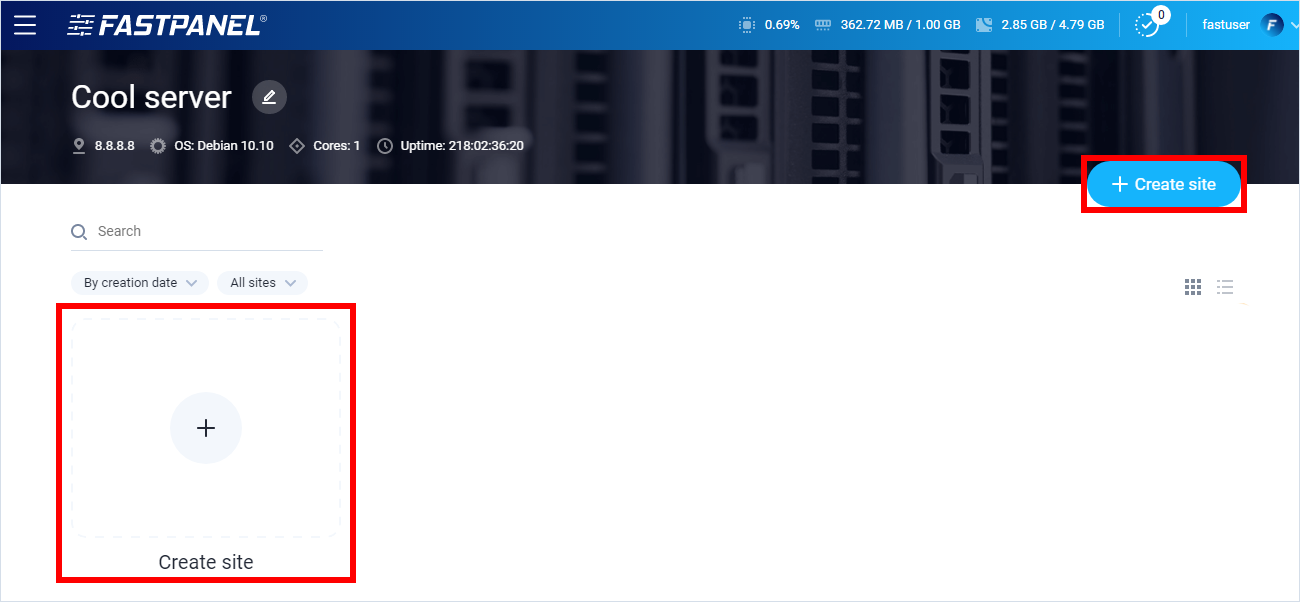
On the first step of Site Creation Wizard you can install WordPress for the site you have just created.
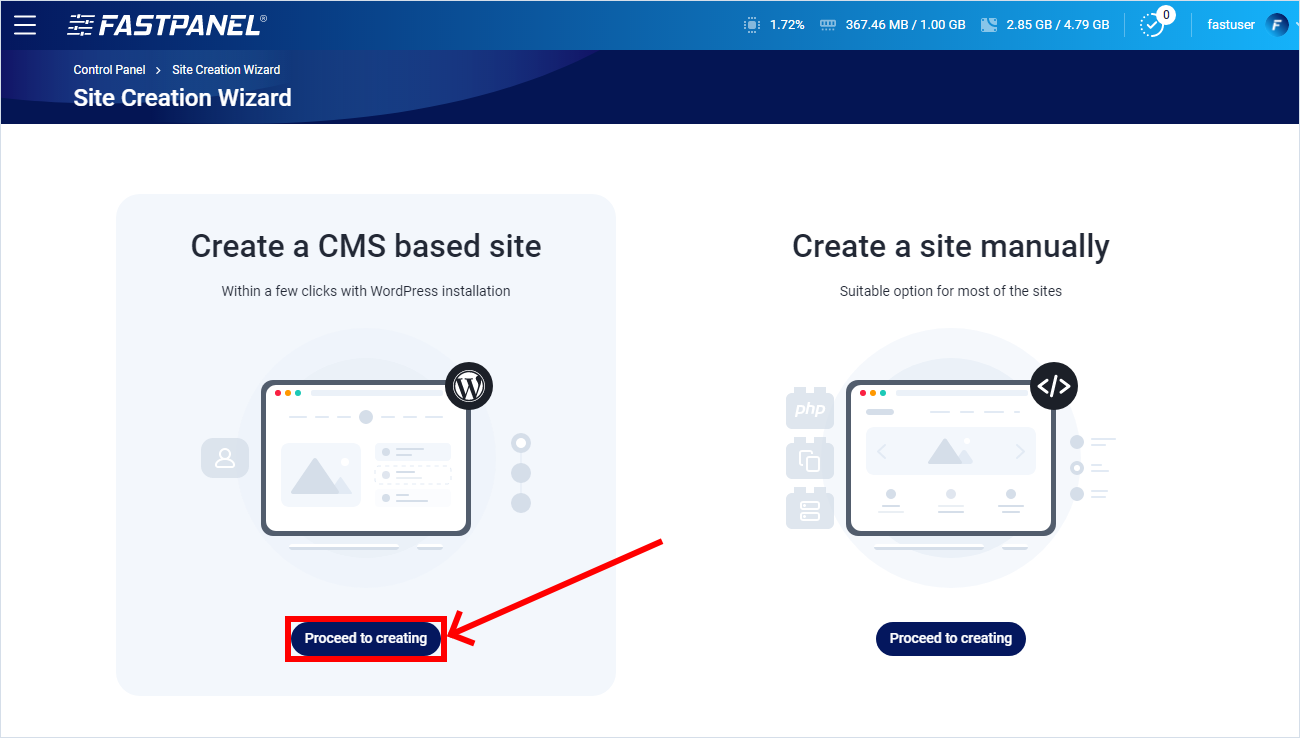
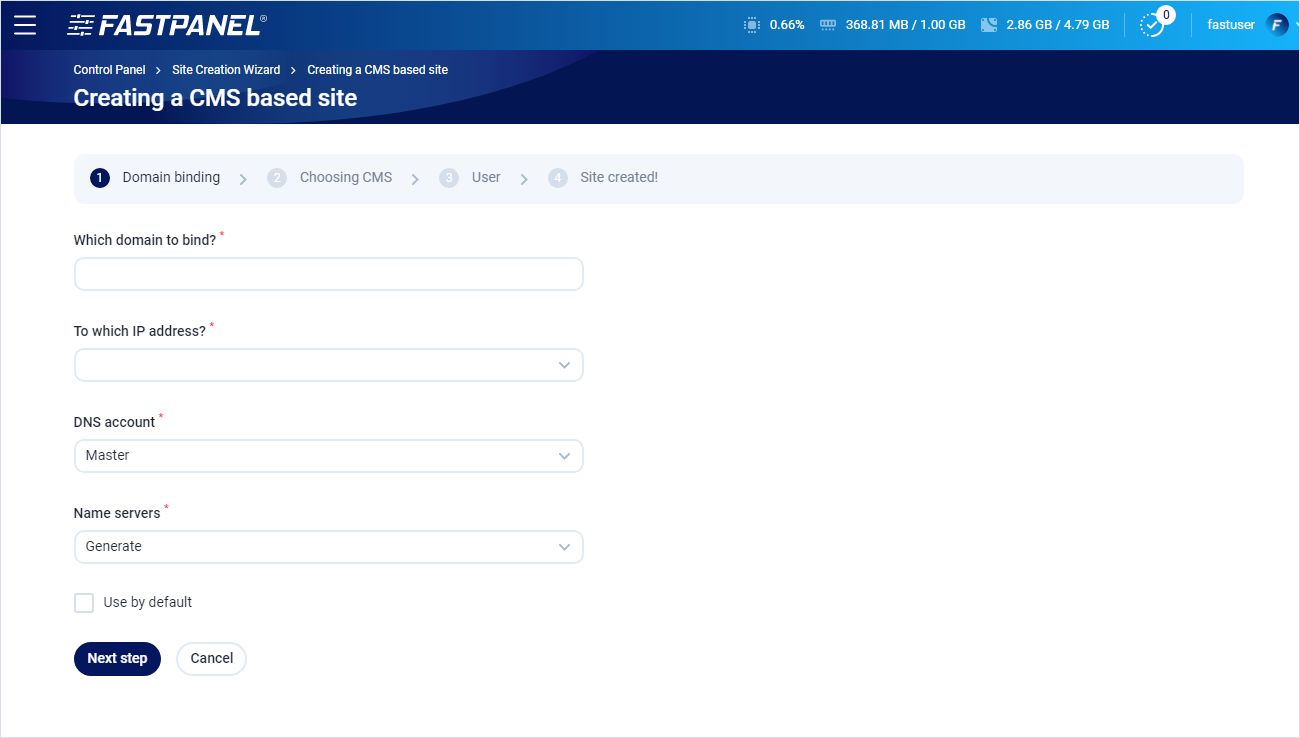
This will open the Site Creation Wizard. The whole process contains three steps:
- Domain connection
- Setting up CMS settings
- Site user's credentials
Simply input username and password for the future site administrator and the rest will be done by the panel itself.
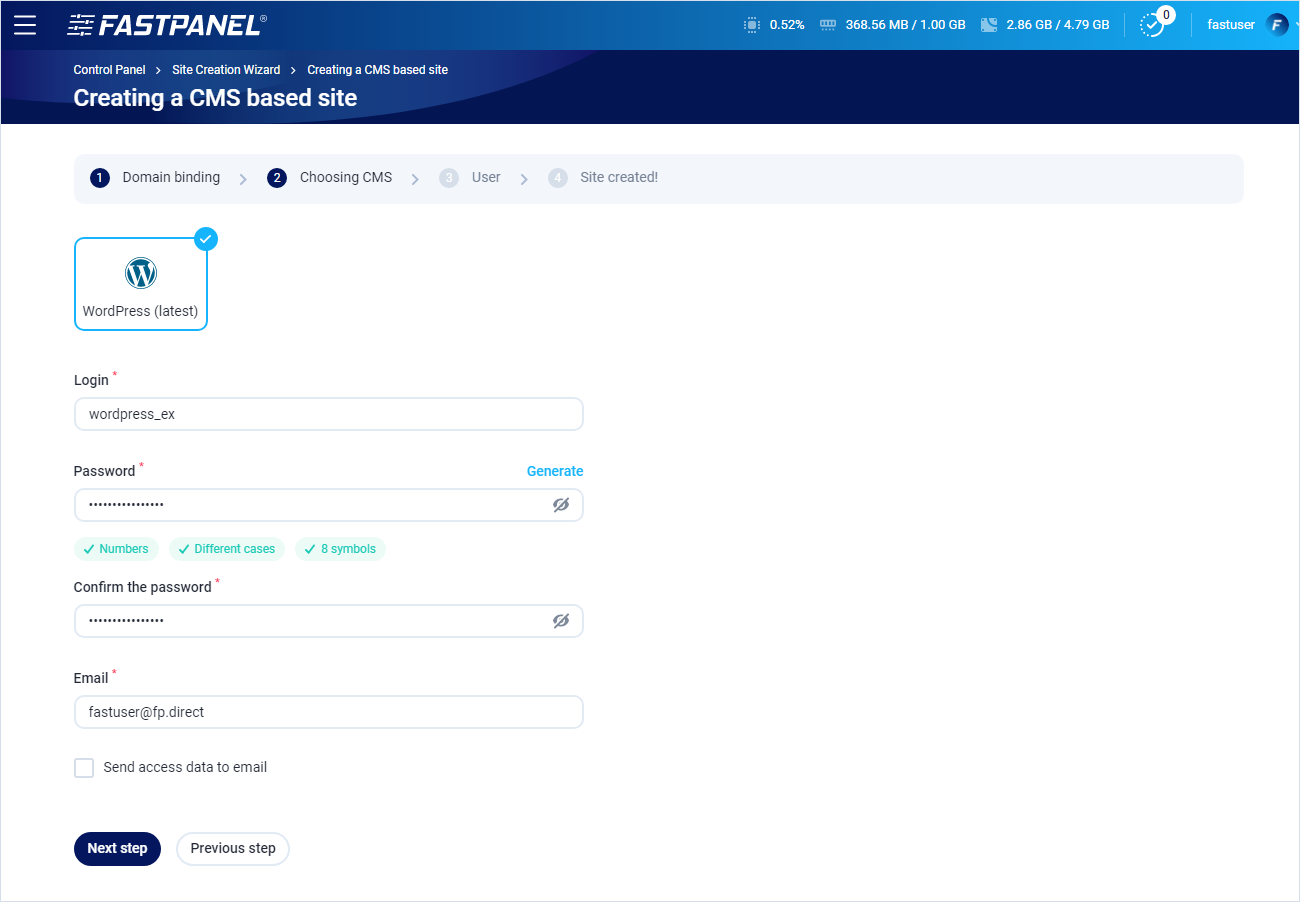
After that you input site user's data
This is not WordPress administator credentials. It is for user on server that own site.
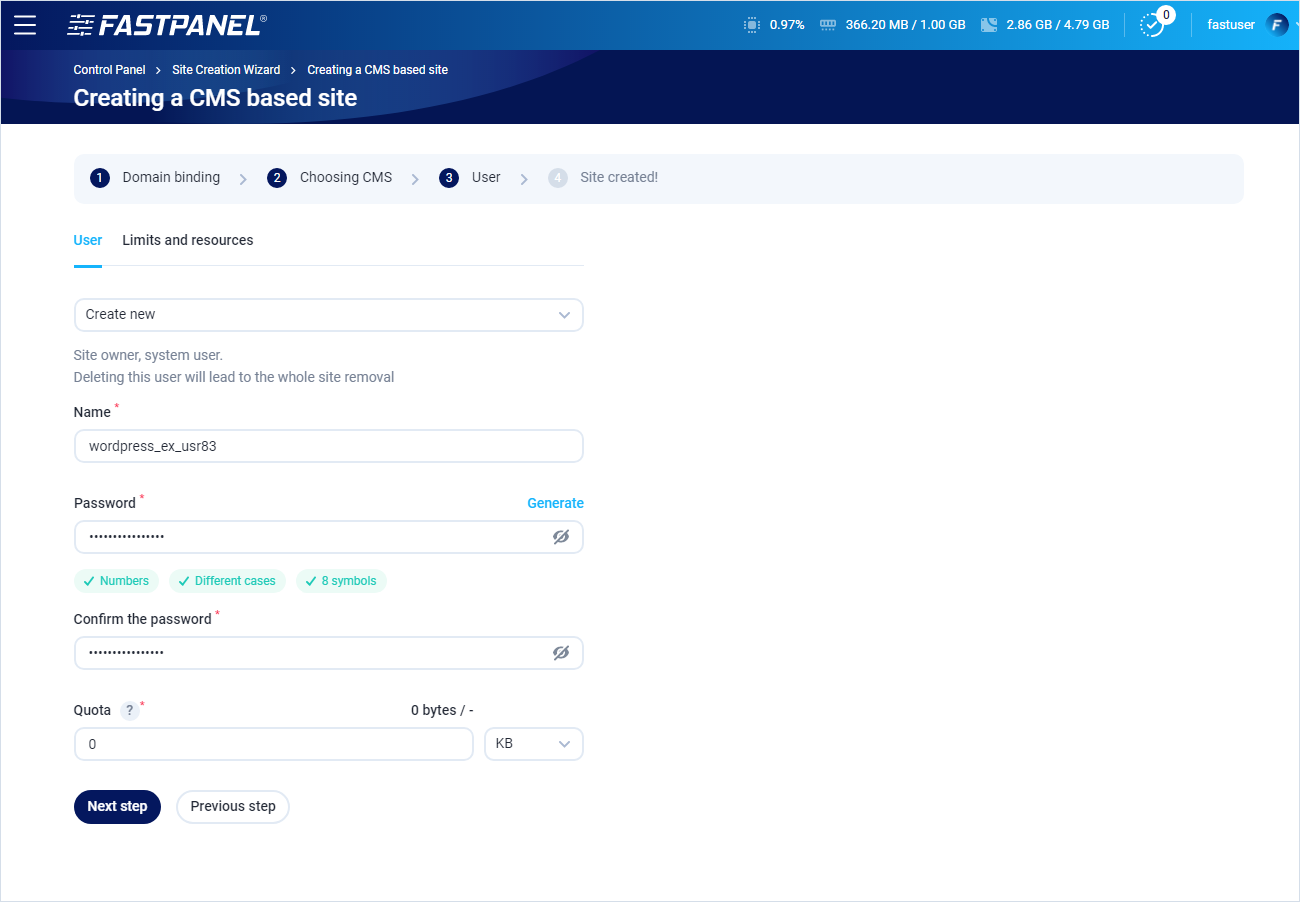
Follow the Wizard instructions and complete the site creation.
Be sure to save the database and FTP account access data in a safe place
You can also "View", "Download" or "Send" the access data to your site:
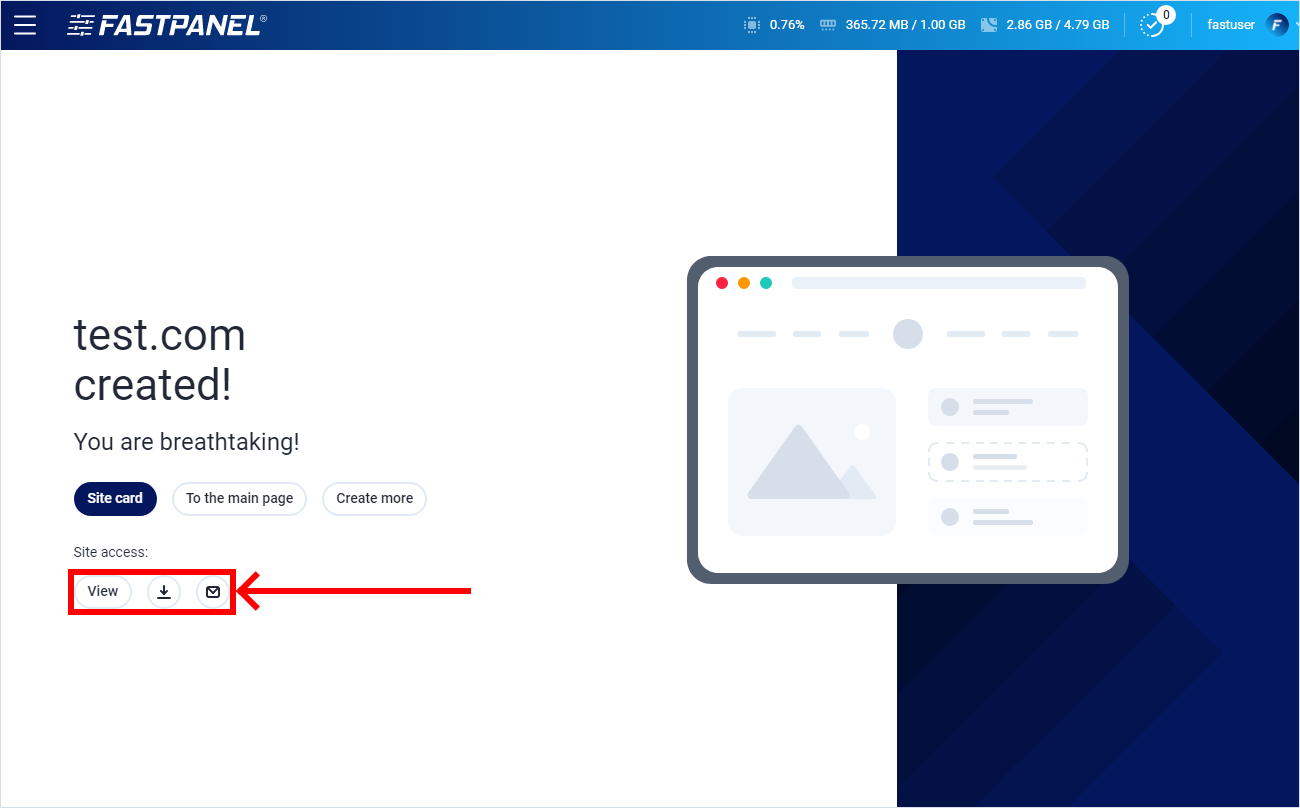
In order to proceed, click "Site card"
Manual CMS installation
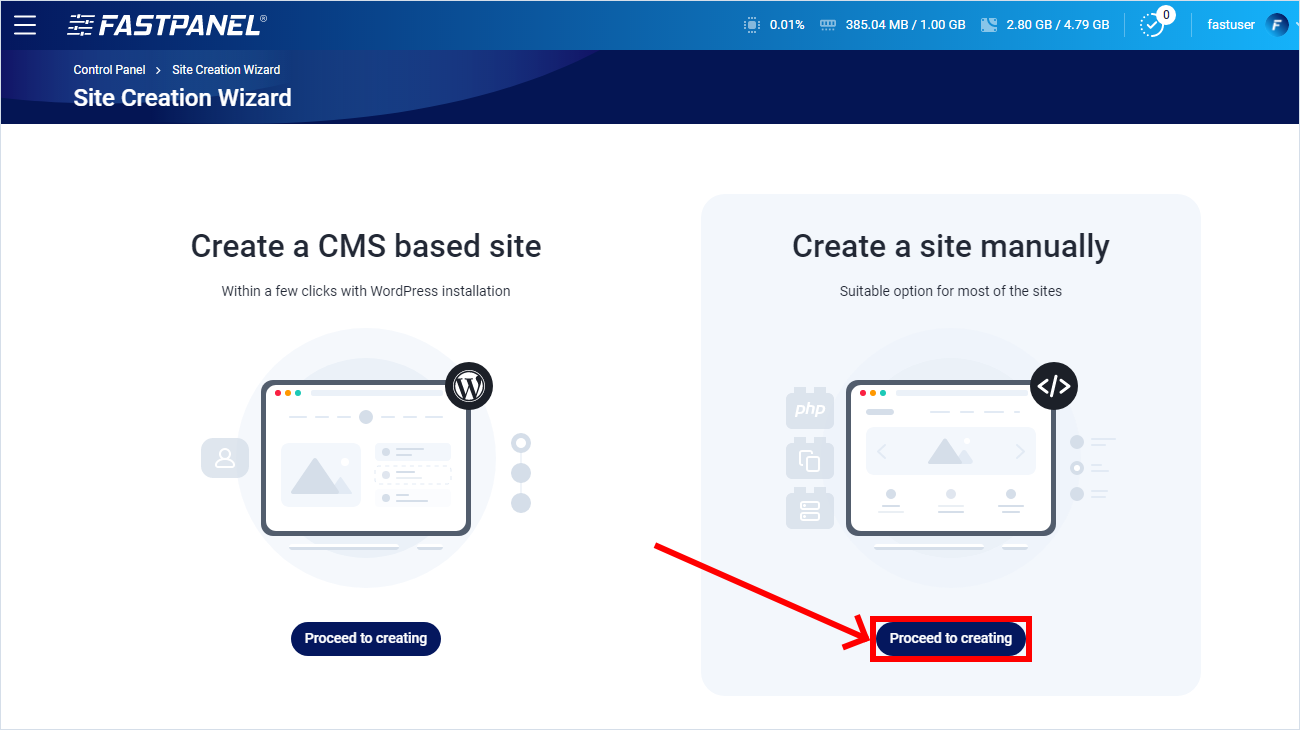
First of all you need to prepare the panel by creating a new site. In order to do that start the Site Creation Wizard by clicking "Create site" button on the right side of the screen.

This will open the Site Creation Wizard. The whole process contains three steps:
- Domain connection
- Setting up php and database
- Backup setup
You can configure following settings:
- User's credentials
- PHP settings
- Database settings
- Backup plans
- FTP access
- SFTP access
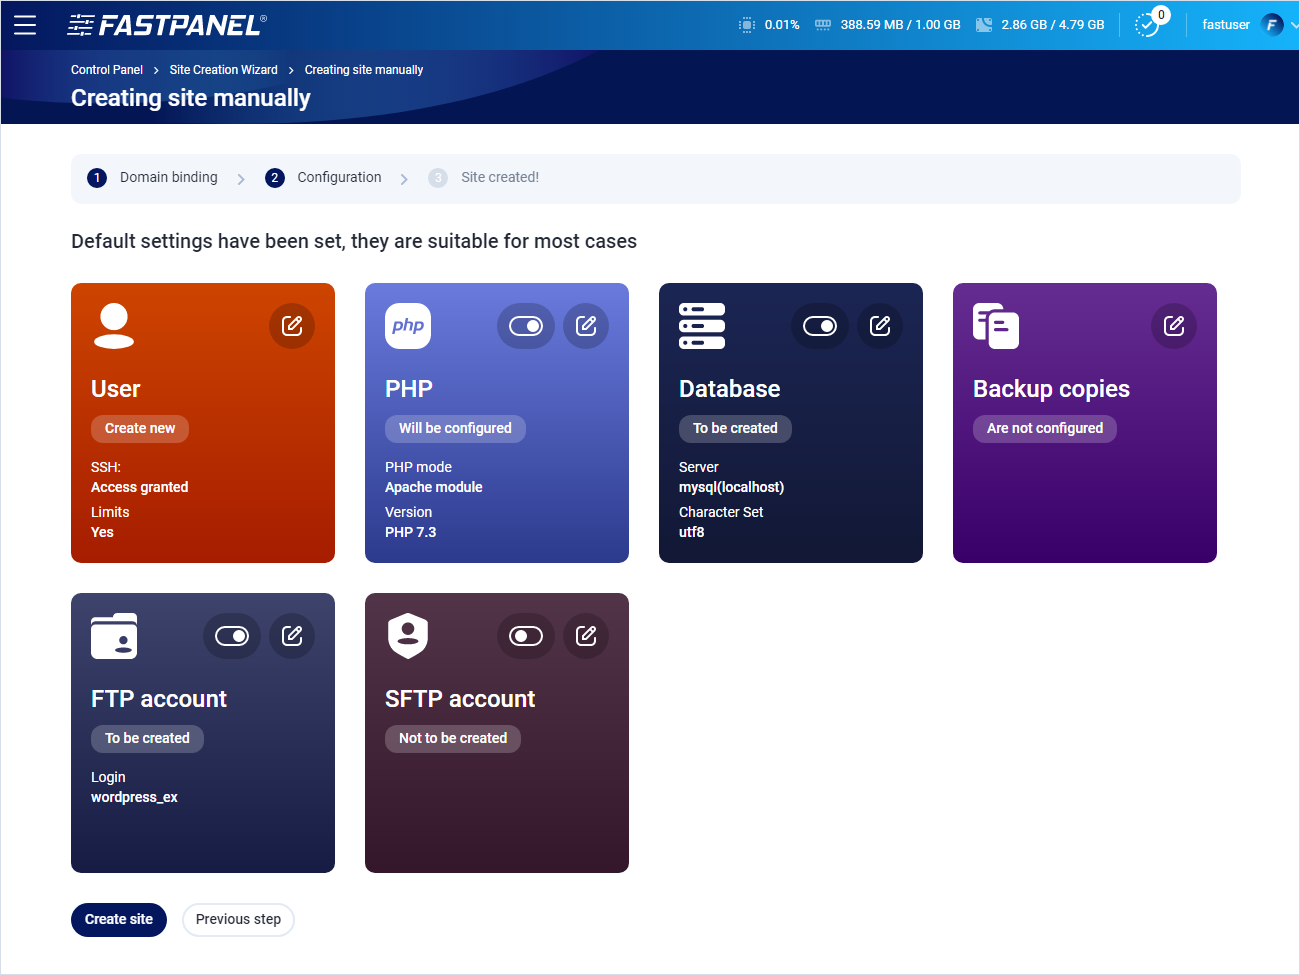
Follow the Wizard instructions and complete the site creation.
Be sure to save the database and FTP account access data in a safe place
You can also "View", "Download" or "Send" the access data to your site:

In order to proceed, click «Site card»
After site creation first of all you need to download an installation package. In this particular case you can do it by following the link and save the archive on your computer.
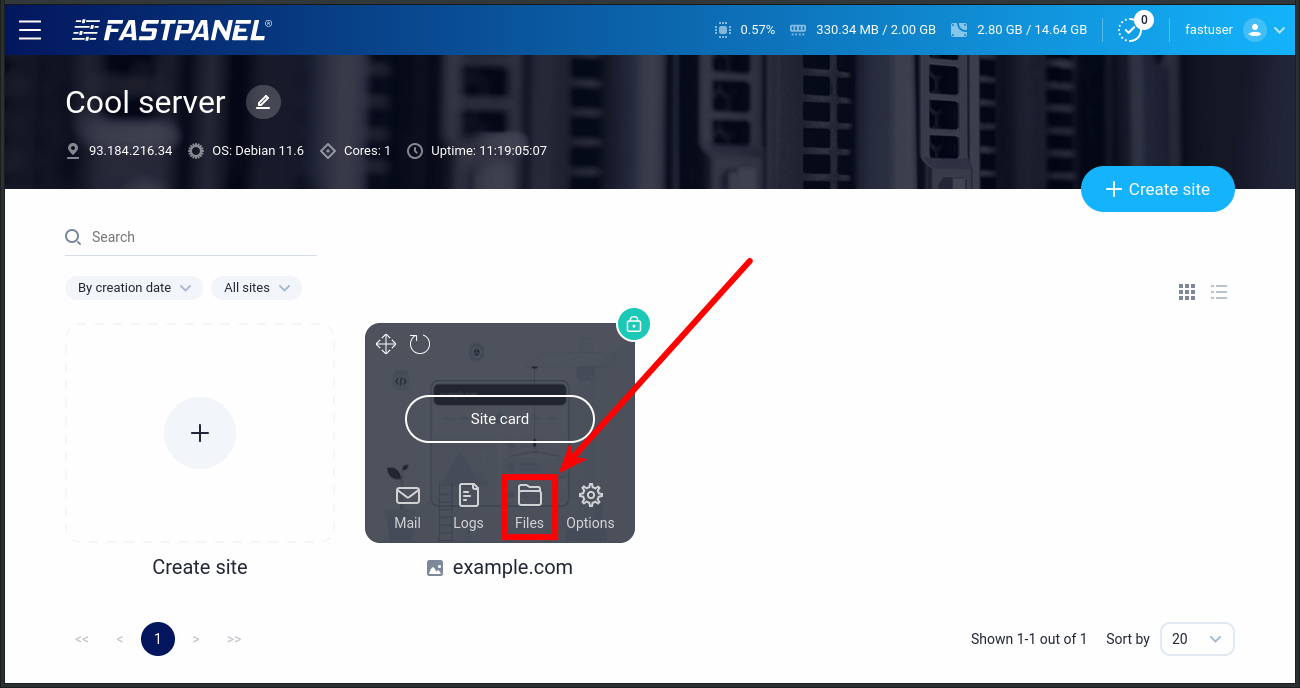
In the site card click "Files" to get to the File Manager.
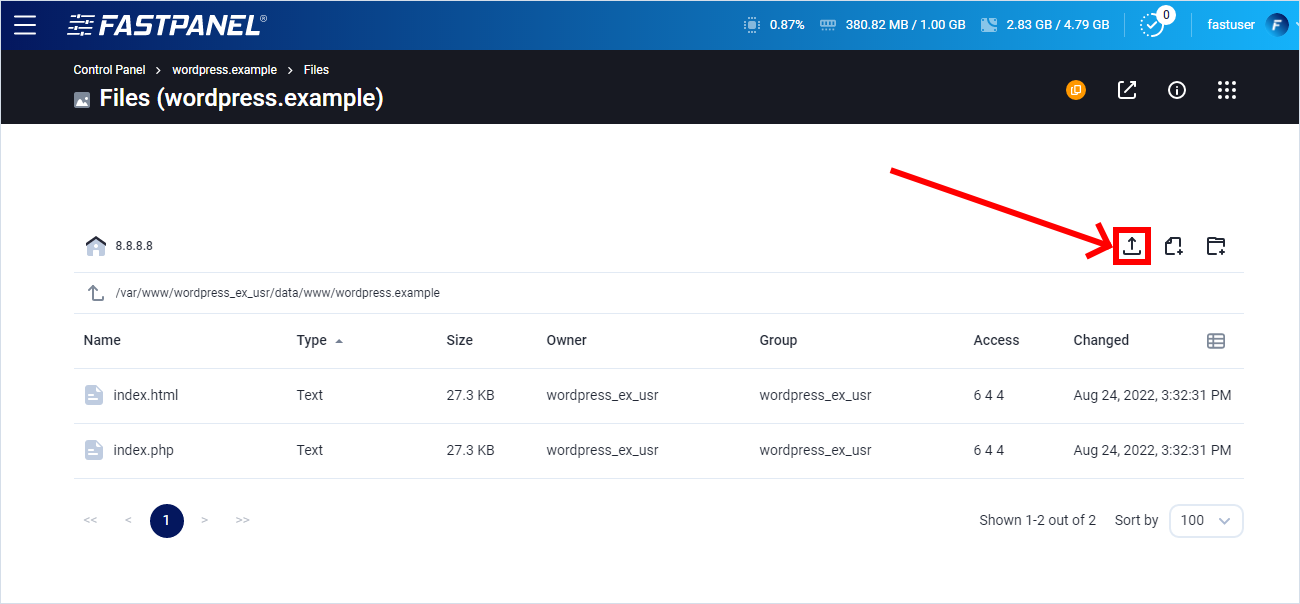
In the opened modal window click "Upload" or simply drag and drop the archive to the workspace
In the opened module window choose the previously downloaded WordPress distribution archive
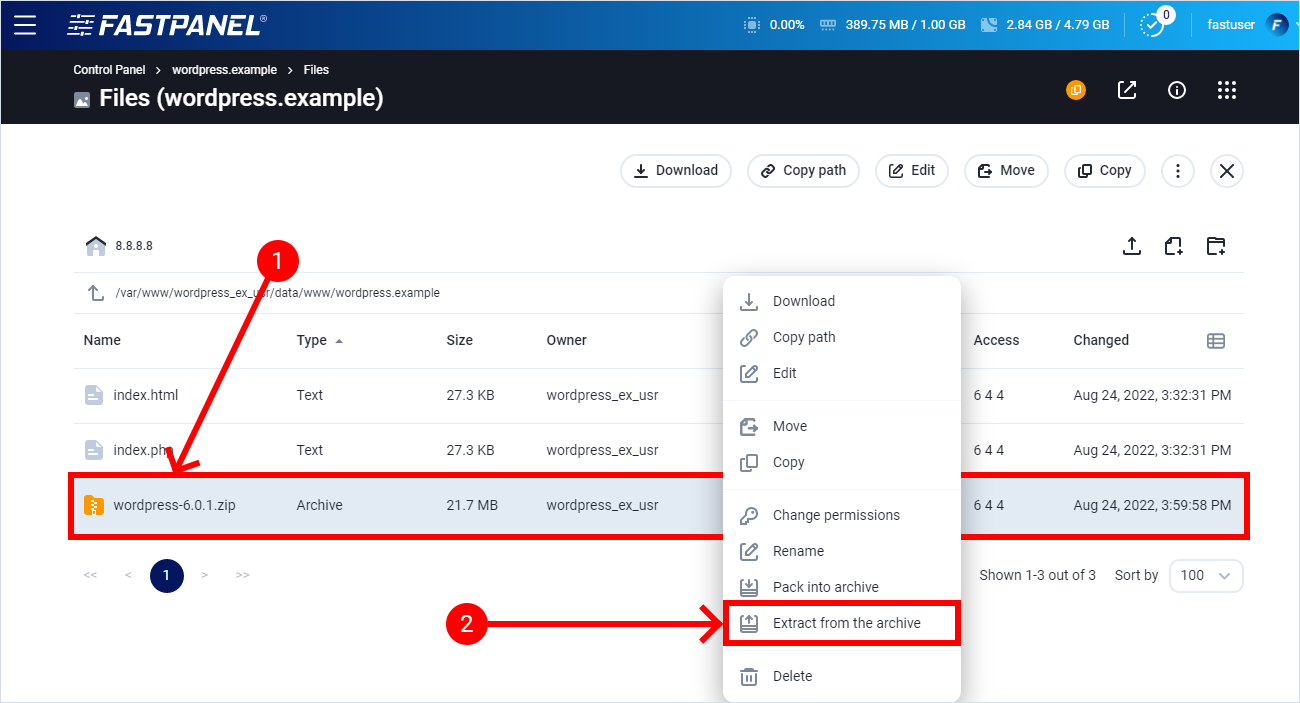
Right-click the archive and select "Extract from the archive"
For space saving purposes you may delete the archive after extraction.
Now you are just a few steps from completing WordPress installation. Enter WordPress directory by double-clicking it. Select all files and directory and click "Move"
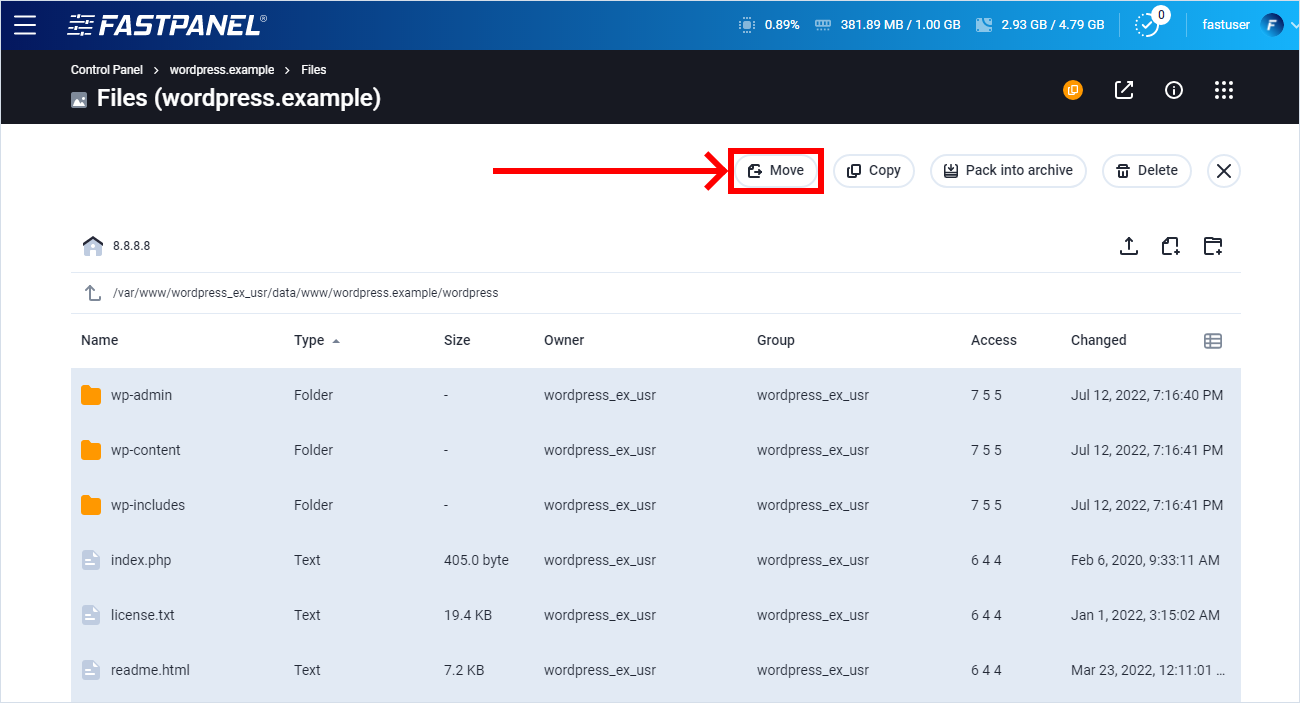
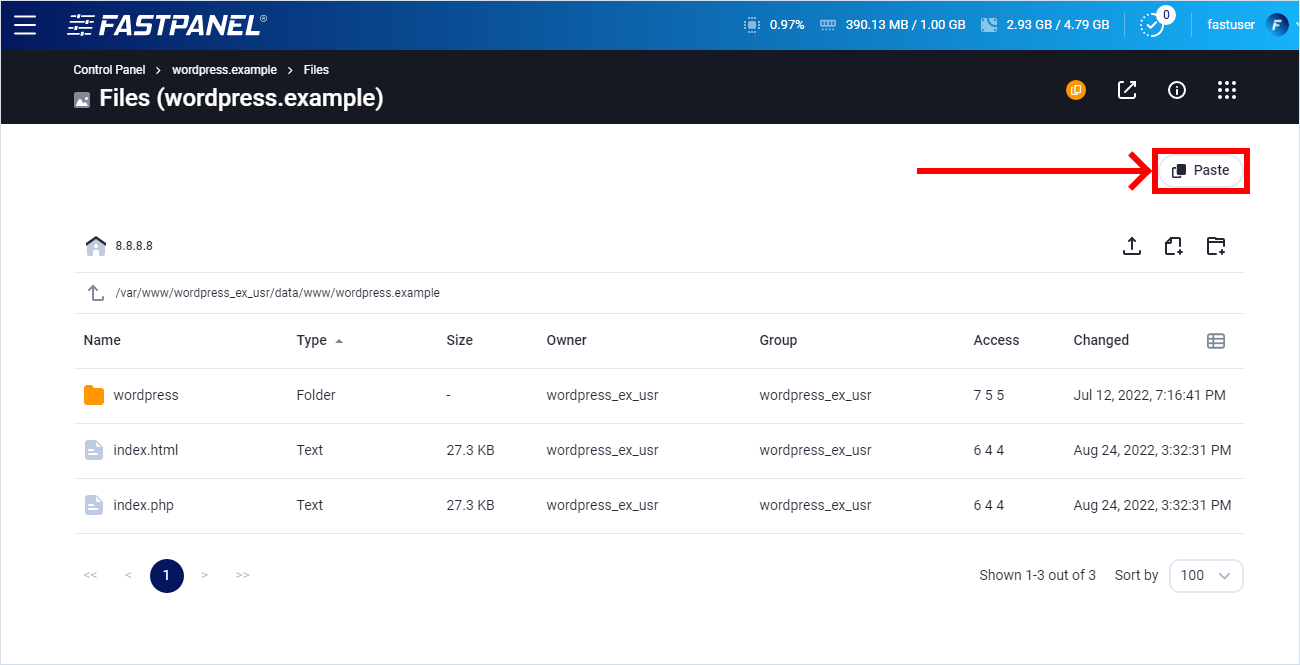
Go to the site main directory and click "Paste"
After WordPress is unpacked, open your site in the browser to access WordPress installation wizard. Finish the installation by following the installation wizard instructions.