Email Configuration in ISPmanager (SPF, DKIM, DMARC)
Let’s take a closer look:
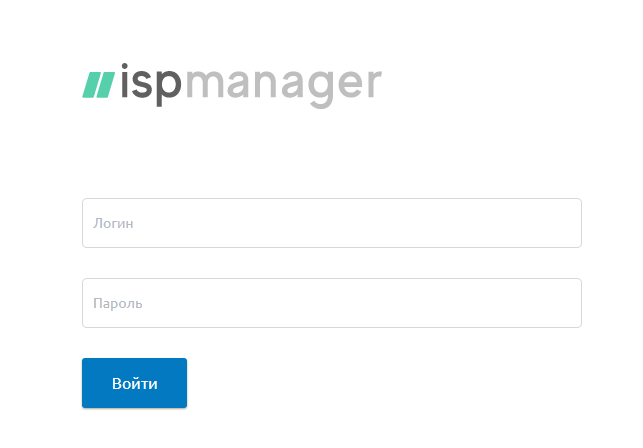
- Log in to your ISPmanager control panel using the account where the domain for creating email addresses is parked.
For this example, we’ll use the domain mobilka.com.ua. - To access the control panel, enter the IP address of your VPS server in your browser:
https://ip_address:1500
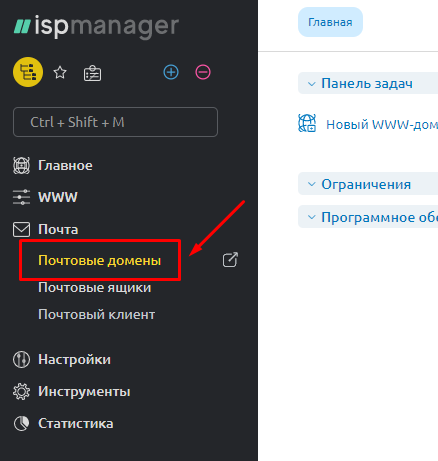
Navigate to the «Mail / Mail domains» section.
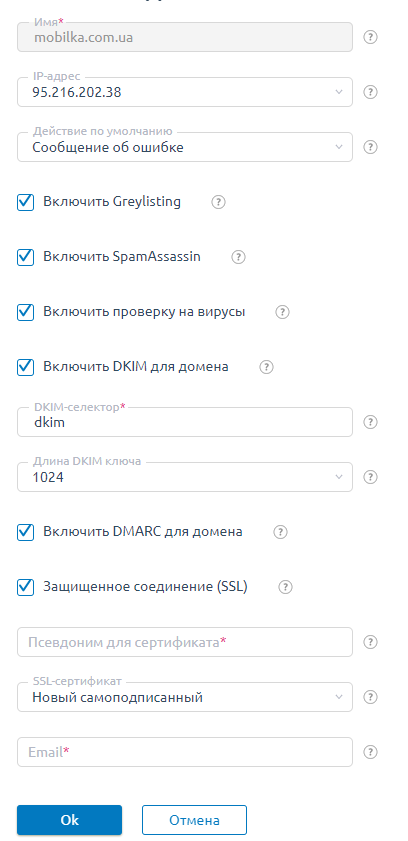
Select the desired domain and click «Edit».
Check all the boxes for the listed options.
Log in as the "root" user, go to "Settings" > "Features", and activate "Mail Server (SMTP/POP3/IMAP)".
If needed, contact Support for further help.
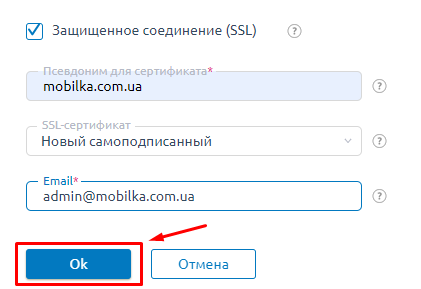
In the "Secure Connection (SSL)" section, provide the following details:
- Enter the full domain name in the "Alias for Certificate" field.
- Enter your email address in the "Email" field.
- Click "OK" to save your changes.
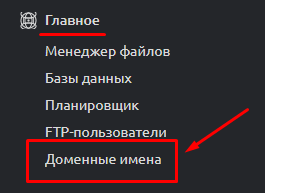
Next, navigate to the "Main" > "Domain Names" section.
Click the «DNS Record» button.
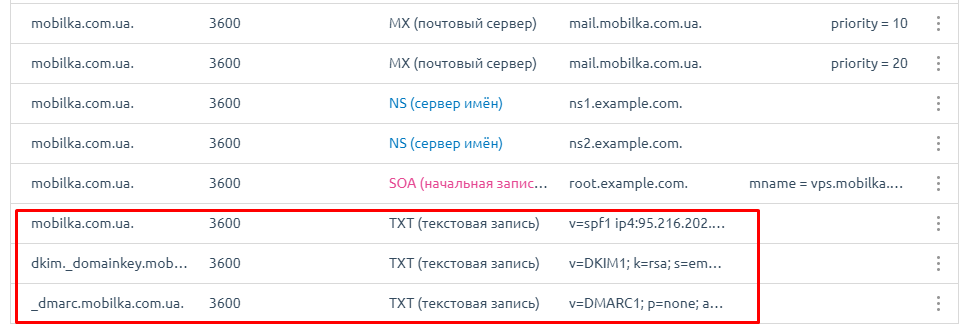
For configuration, we will need «TXT» records.
Next, log in to your account and navigate to the "VPS Domain Management" section.
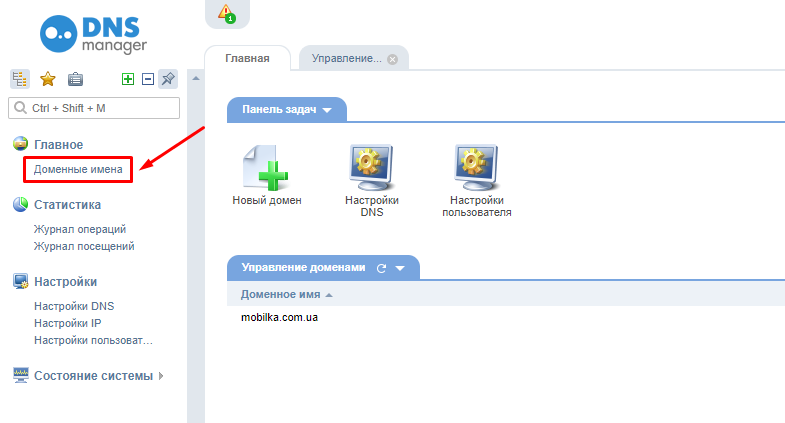
Navigate to the "Domains" section.
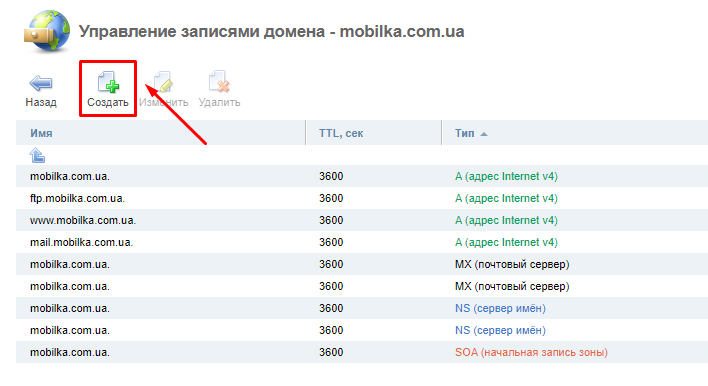
Select the domain name and click «Records».
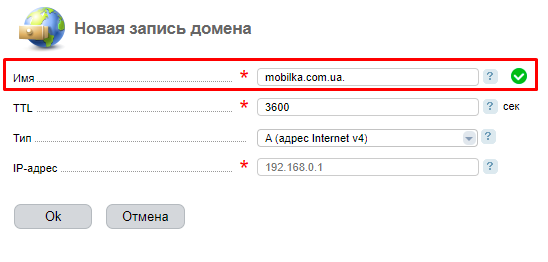
Click «Create».
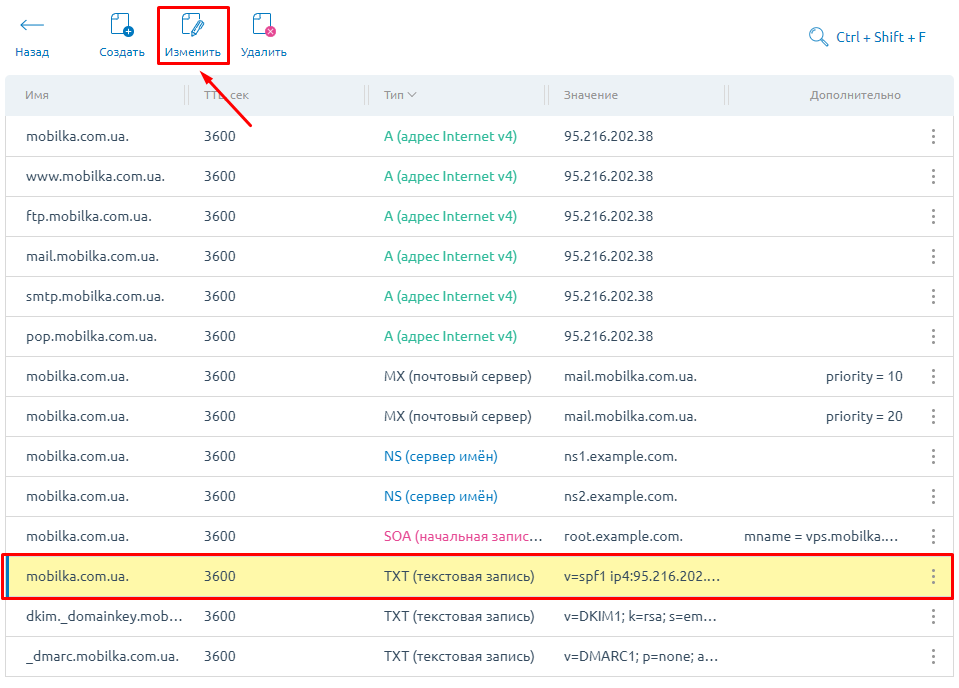
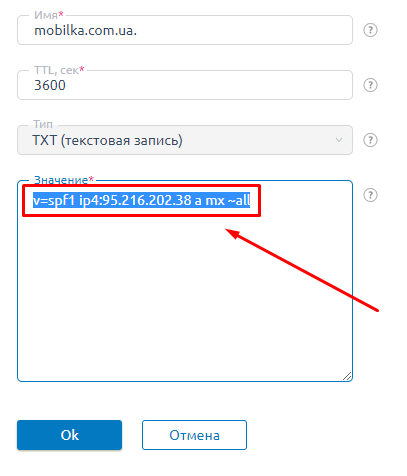
In the «Domain Names» section of the ISPmanager control panel, locate the first «TXT» record and click «Edit».
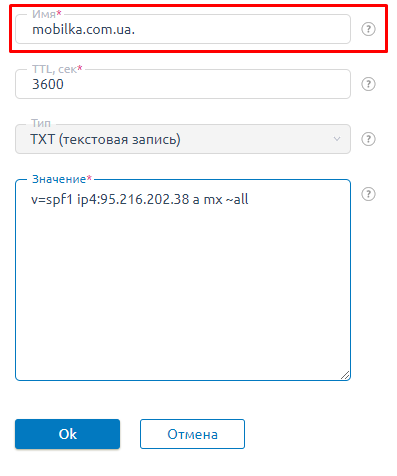
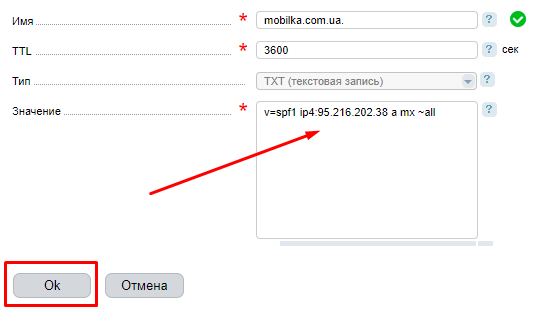
Copy the data from the «Name» field.
Paste it into the «Name» field.
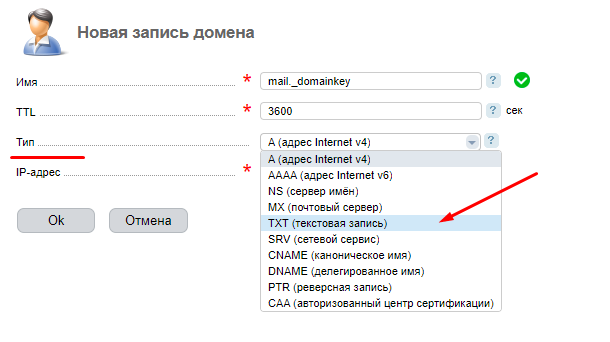
In the «Type» field, select «TXT (Text Record)» from the dropdown menu.
Copy the data from the «Value» field.
Paste the copied record into the «Value» field and click «OK».


