Configuring Connection to the Service via IPv6
If your provider does not support IPv6, you can use a third-party service to enable IPv6 over IPv4.
What is IPv4?
IPv4 (Internet Protocol version 4) is the fourth version of the Internet Protocol, which defines the rules for how networks communicate using packet exchange. It uniquely identifies devices connected to a network through an addressing system.
Whenever a device connects to the internet (whether it’s a switch, PC, or another device), it is assigned a unique numerical IP address, such as 192.149.252.76.
IPv4 uses a 32-bit addressing scheme, allowing for up to 2^32 addresses (approximately 4.19 billion). However, the increasing number of internet users has led to IPv4 address exhaustion.
To address this limitation, IPv6, a new internet addressing system, is being implemented to provide a larger pool of IP addresses. What is IPv6?
IPv6 (Internet Protocol Version 6) was introduced in 1999 to address the growing demand for IP addresses, which exceeded the supply available under IPv4. It enables communication and data transfer across networks.
IPv6 uses a 128-bit addressing system, allowing for 2^128 unique internet addresses. This not only resolves the issue of limited IP address availability but also supports the growing number of devices connecting to the internet.
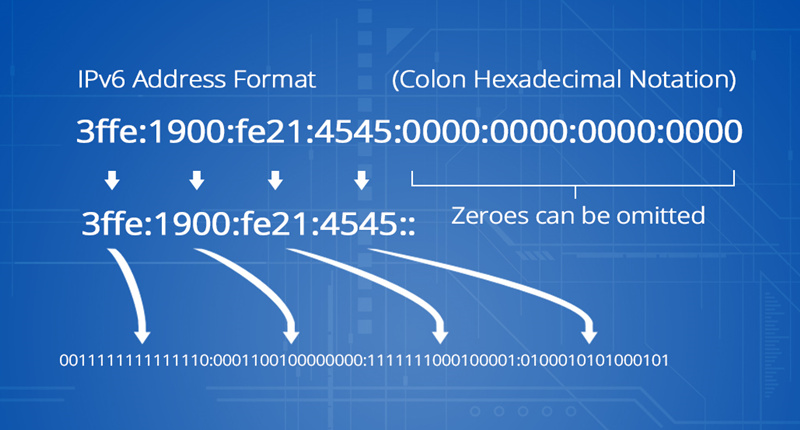
An example of an IPv6 address is:
`3ffe:1900:fe21:4545:0000:0000:0000:0000`.
IPv4 and IPv6 are address systems used to identify computers connected to a network. While they are similar in concept, they operate differently.
You can find plenty of information online about services like 6v4, ip6toip4, IPv6 tunnels, and tunnel brokers. However, in this guide, we’ll focus on the most reliable method, which has been tested and is currently working.
What You’ll Need:
1. A basic understanding of how TCP/IP works.
2. A router that supports IPv6.
3. A static IPv4 address (this is usually a paid service from your internet provider).
4. Patience.
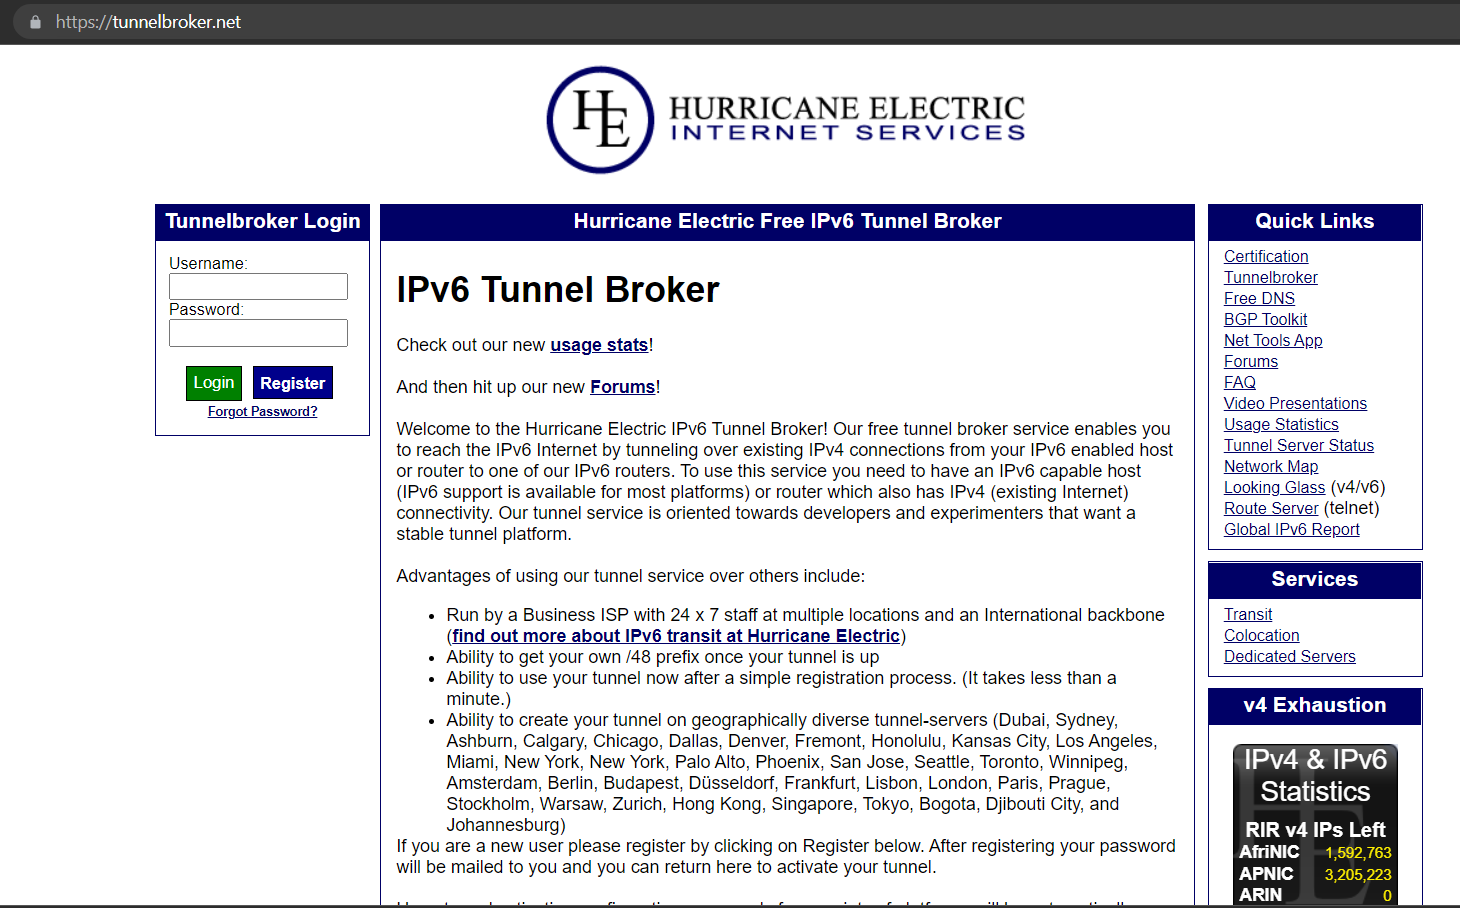
We’ll use the Tunnelbroker service by Hurricane Electric.
Go to their website:
https://tunnelbroker.net/
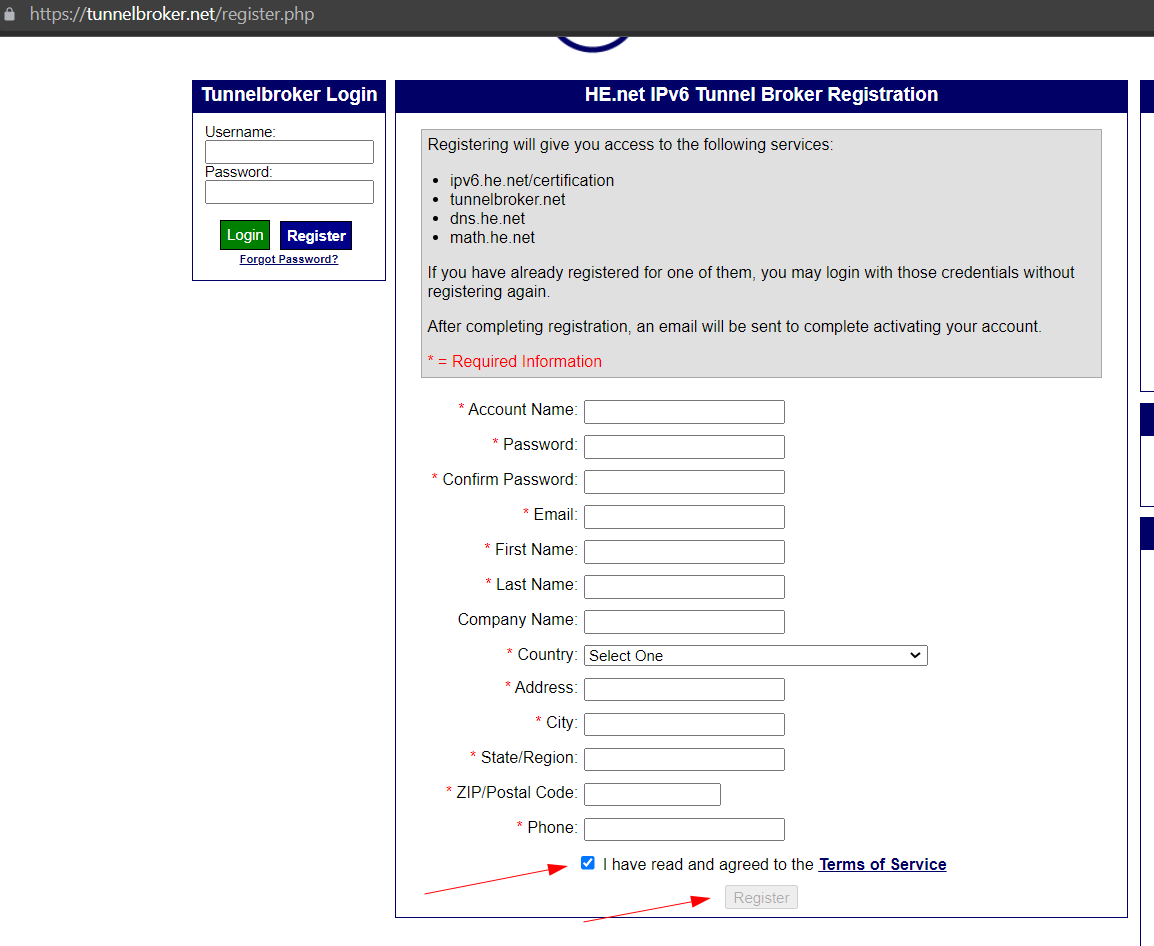
Click «Register» to create an account. Fill out all the fields with valid information.
To proceed with registration, accept the terms and conditions.
Follow the instructions after registration.
Email verification may be required.
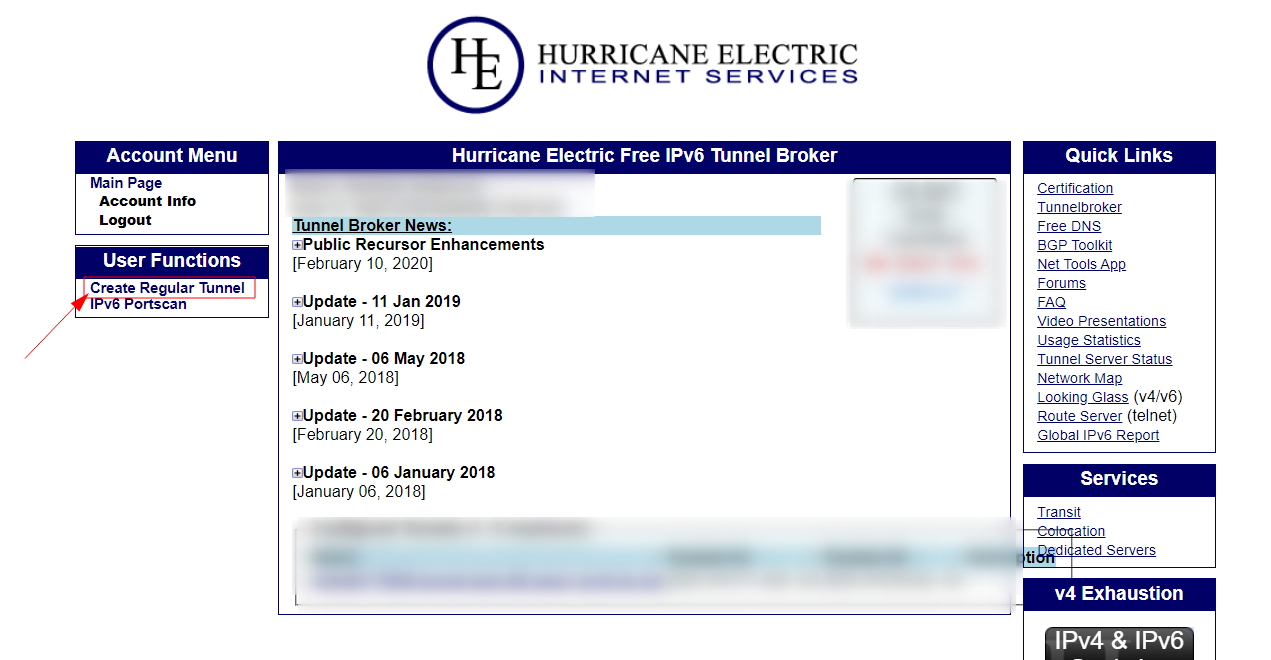
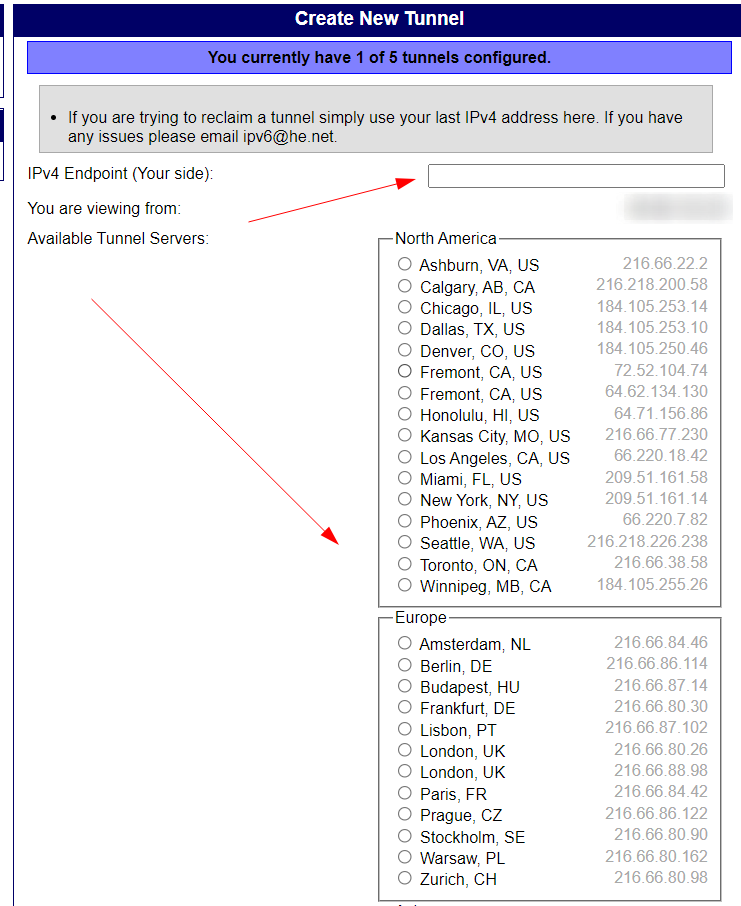
Once you successfully log in to your tunnelbroker.net account, create a new tunnel.
Enter your static IP in the IPv4 Endpoint (Your side) field:
(To successfully connect, ensure your router allows pings (ICMP echo) from the WAN side. This setting varies by device, so refer to your manufacturer's instructions.)
Select the server closest to your location in the Available Tunnel Servers field, and click «Create Tunnel».
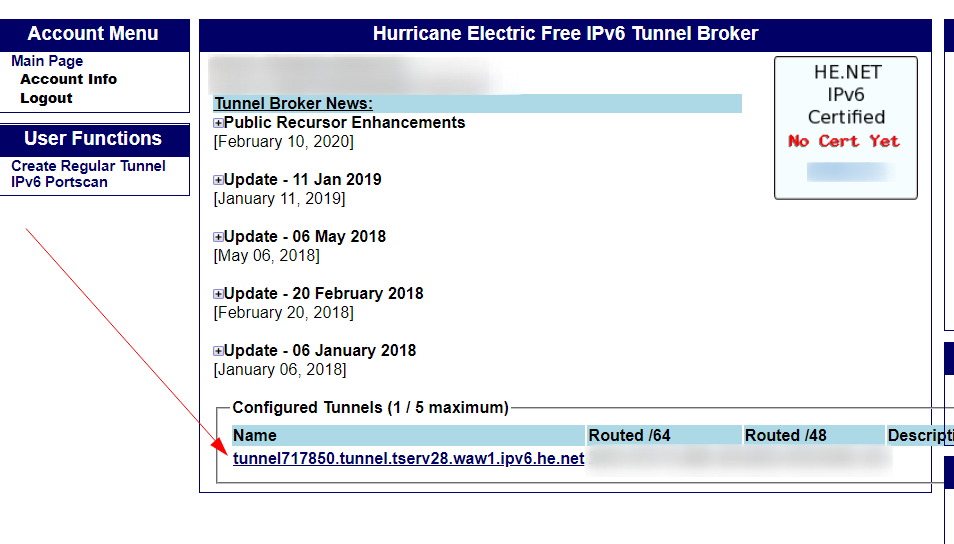
Once the tunnel is successfully created, it will appear on your Tunnelbroker account homepage. Click on the newly created connection.
Here, you’ll find the connection details and setup instructions for most routers.
Once you have this information, proceed to configure the tunnel on your home router.
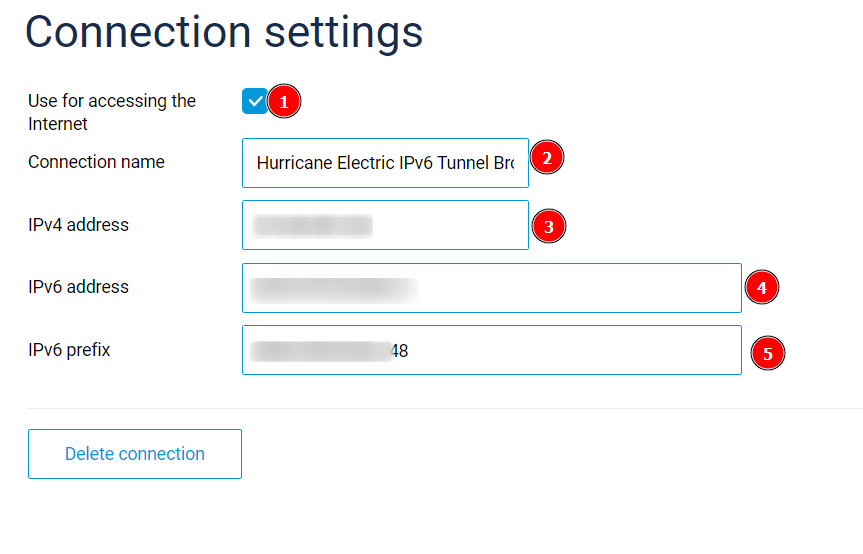
For this example, we’ll use the Keenetic Ultra (KN-1810) router.
In the IPv6 tunnel connection window, you’ll need the following details from the Tunnelbroker website:
1. Server IPv4 Address
2. Client IPv6 Address
3. Routed /48
Enter these details in your router’s console. Save the router configuration.
Restart your router.
Check IPv6 functionality using:
https://test-ipv6.com
Or via the command line:
ping ipv6.google.com
If you receive a successful response like:
ping ipv6.google.com
Pinging ipv6.l.google.com [2a00:1450:401b:801::200e] with 32 bytes of data:
Reply from 2a00:1450:401b:801::200e: time=24ms
You can be confident that the IPv6 tunnel setup is successfully completed.
Finally, test the connection to your Linux-VDS or Windows-VDS service over IPv6 using the details provided in your account dashboard or in the access email.


