How to Create a New WordPress Site
For clients on the «WordPress Hosting» plan, the installation process is fully automated.
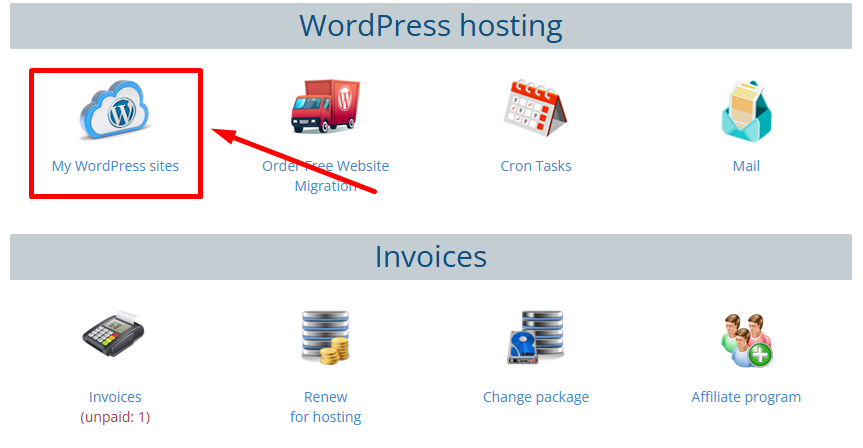
To set up your WordPress website, simply log in to your Client Area and navigate to the «My WordPress Sites» section.
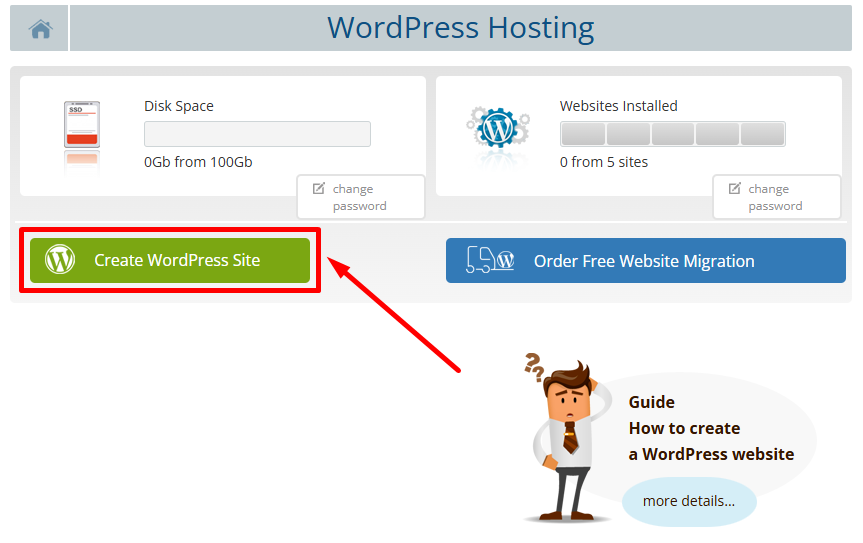
Click the «Create WordPress Site» button.
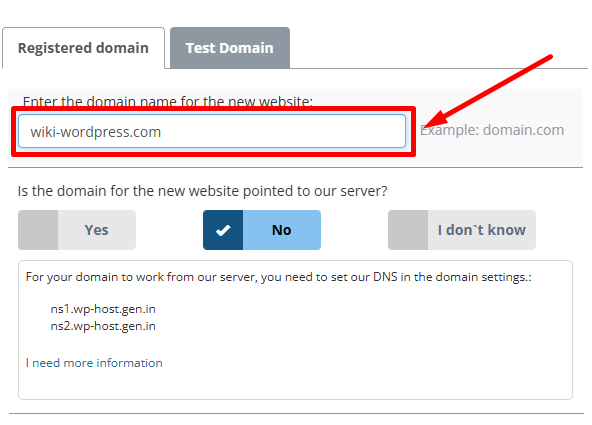
In the pop-up window, enter the domain name for your new site.
Important: To ensure your domain works with our servers, it must be configured with the following DNS settings:
ns2.wp-host.gen.in
In the «Distribution WordPress» field, select the type of installation you need.
We recommend keeping the default option: «WordPress + Website Builder» for new websites.
If you're migrating an existing site, choose «Empty Site (for Migration)» instead.
In the «Website Name» field, enter the desired name for your site.
Then, create a Username and Password, which you’ll use to access the WordPress admin panel.
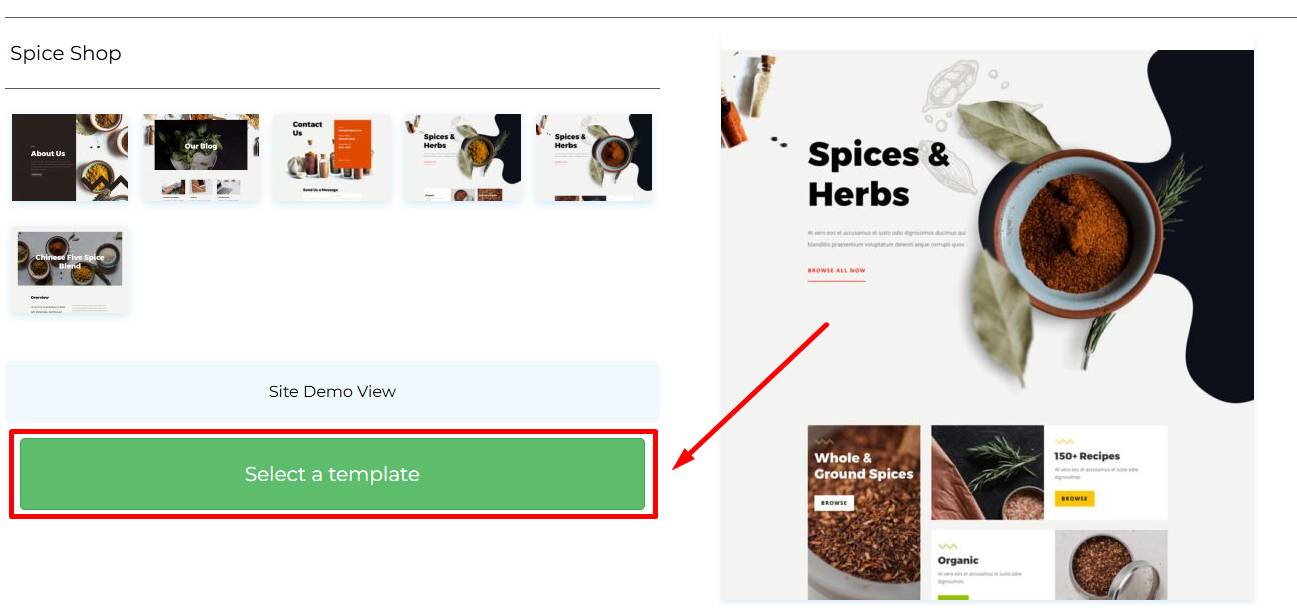
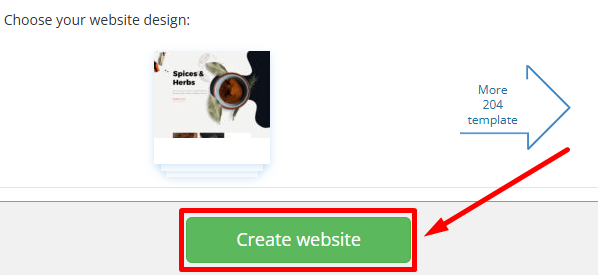
If you kept the «Distribution WordPress» field set to the default option, «WordPress + Website Builder», the next step is to choose a design template for your site.
To explore all available templates, click the link «See 205 More Templates».
Select a template that best fits your needs, then click the «Select Template» button.
Click the «Create website».
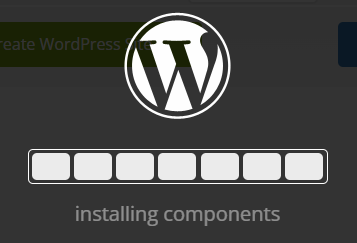
Wait for the installation to complete.
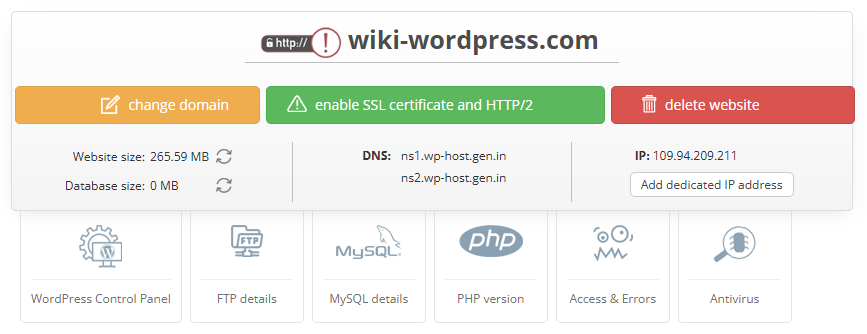
Your WordPress site has been successfully created.
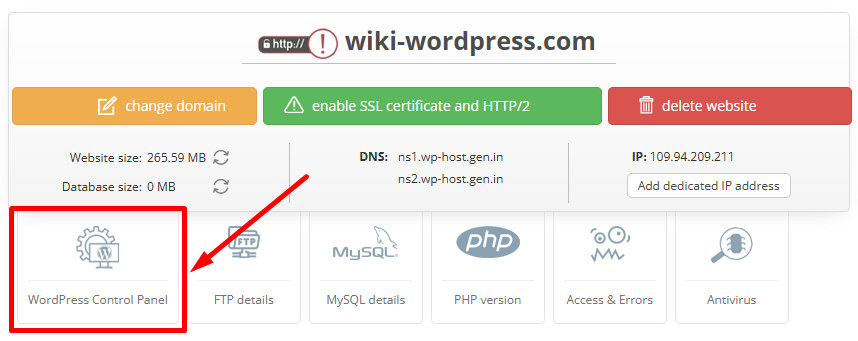
Click the «WordPress Control Panel» button to access the WordPress admin dashboard.


