How to Create a Multilingual Website
To create a multilingual website, you’ll need to install a plugin. In this guide, we’ll show you how to install, set up, and use the Polylang plugin.
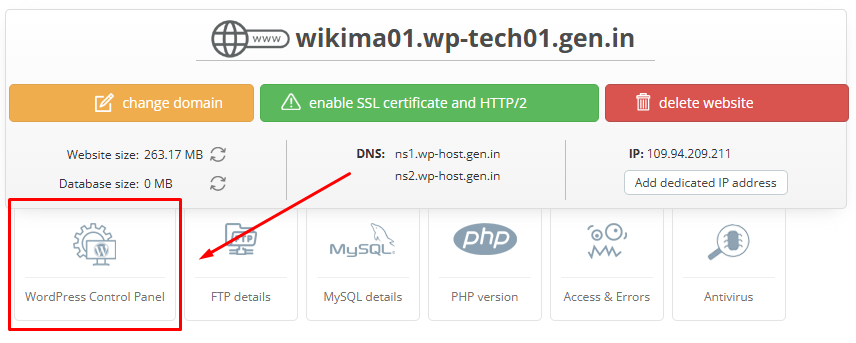
Start by logging in to your WordPress admin panel at Your_Domain/wp-admin/ or through your account dashboard.
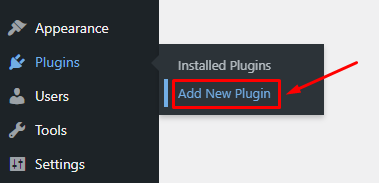
Navigate to «Plugins» / «Add New Plugin».
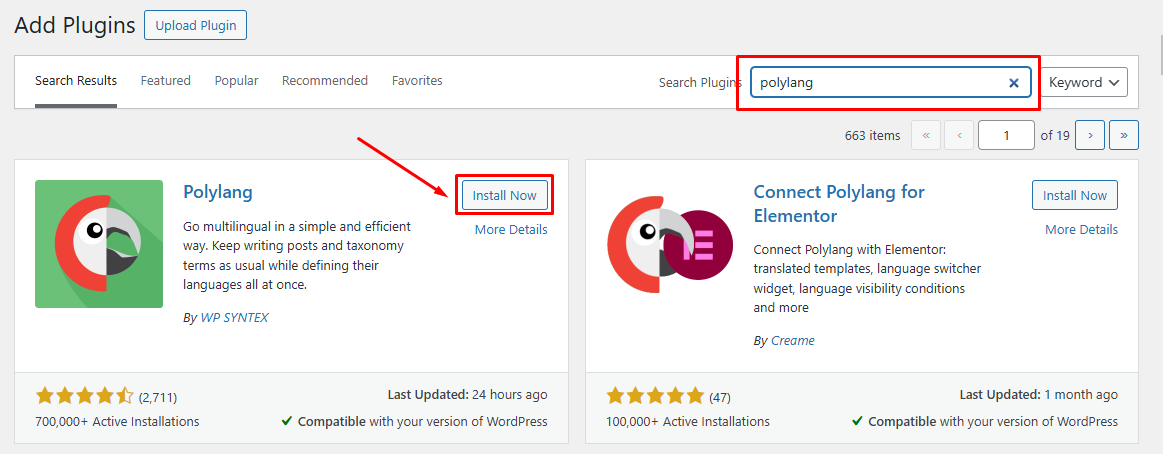
Search for «polylang» in the search bar, then click the «Install Now» button next to it in the results.
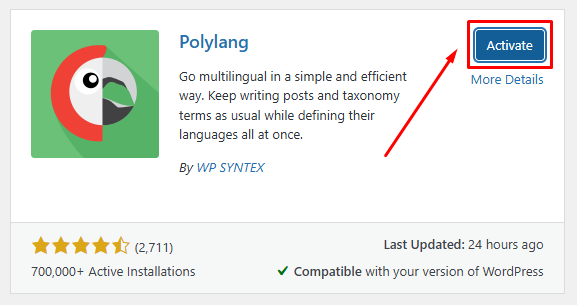
Once the installation is complete, click «Activate» to enable the plugin.
After activating the plugin, you’ll be taken to the setup wizard.
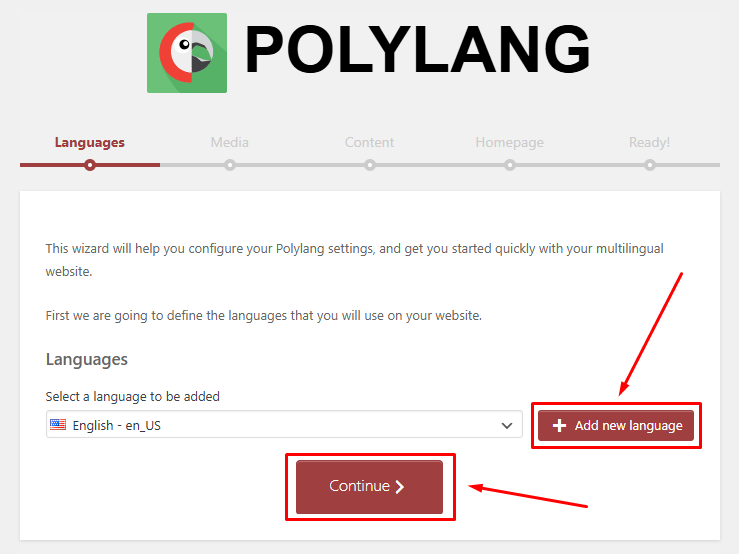
In the first step, select the languages you want your website to support. Don’t worry—you can add more languages later if needed.
Once you’ve chosen your languages, click «Continue» to move to the next step.
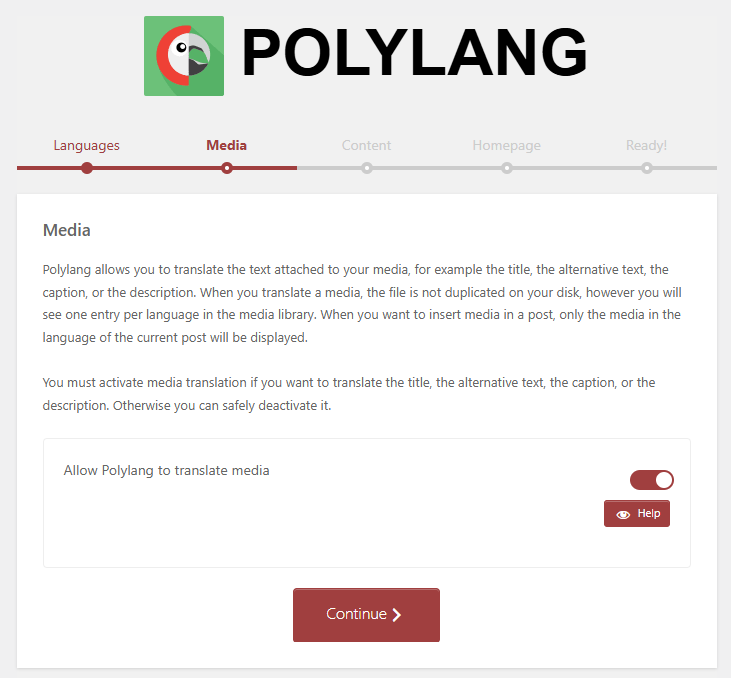
Ensure that the «Allow Polylang to translate media» option is enabled.
This feature allows you to add separate descriptions for media files, such as images, in each language.
When you're ready, click «Continue» to proceed.
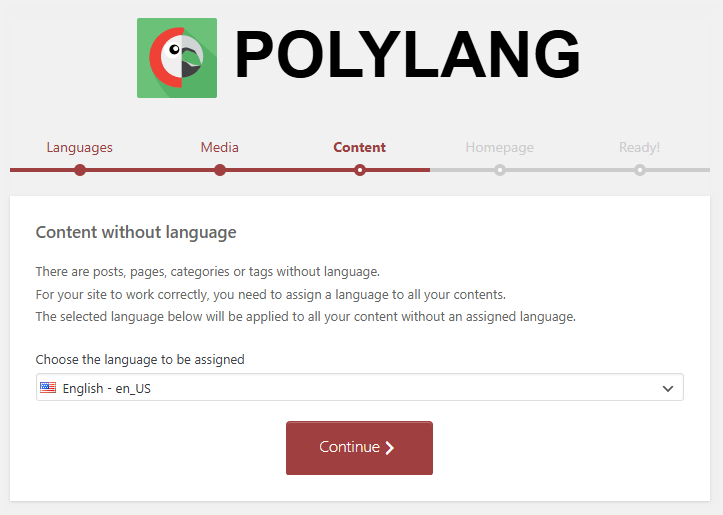
Set a default language for your site. This language will be assigned to any existing content.
Once you’ve selected the default language, click «Continue» to proceed.
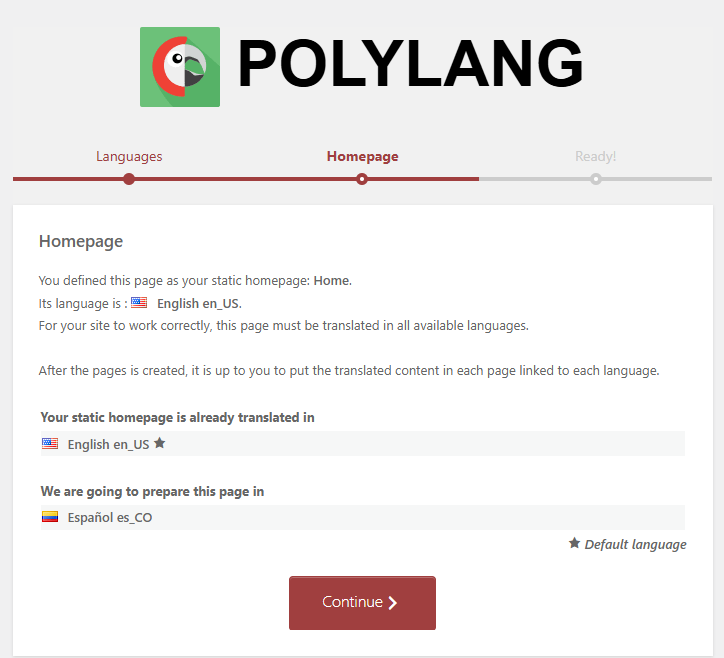
Click the «Continue».
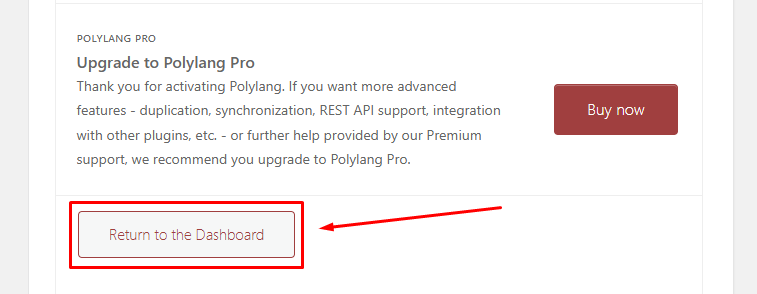
Click the «Return to the Dashboard».
Polylang has been successfully installed.
Now, it’s time to configure some additional settings.
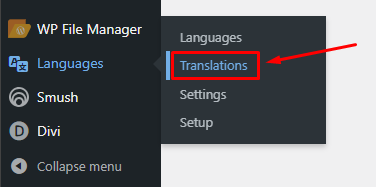
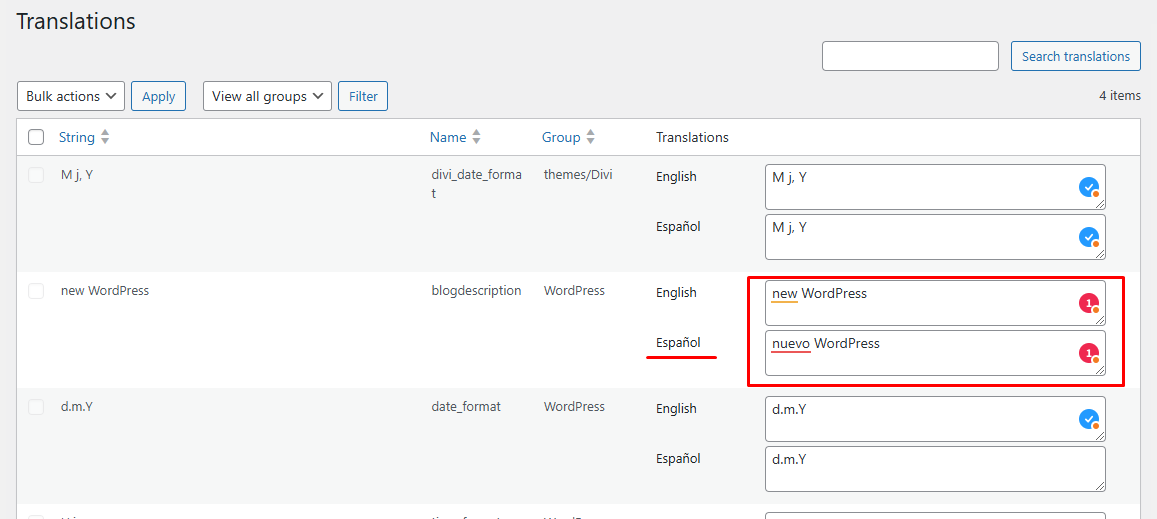
In your WordPress admin panel, you’ll notice a new «Languages» section. Go to «Languages» / «Translations» to continue.
This section contains text strings related to template settings that cannot be edited directly on the pages, so they are managed here separately.
Update the fields to match the corresponding language. In most cases, you’ll only need to adjust the «WP Templates» field.
Once you’ve made your changes, click «Save Changes» to apply them.
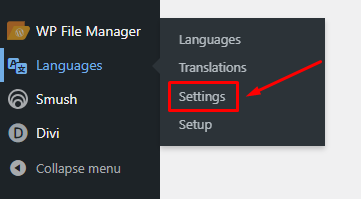
Next, navigate to «Languages» > «Settings».
In this section, you can leave all settings at their default values.
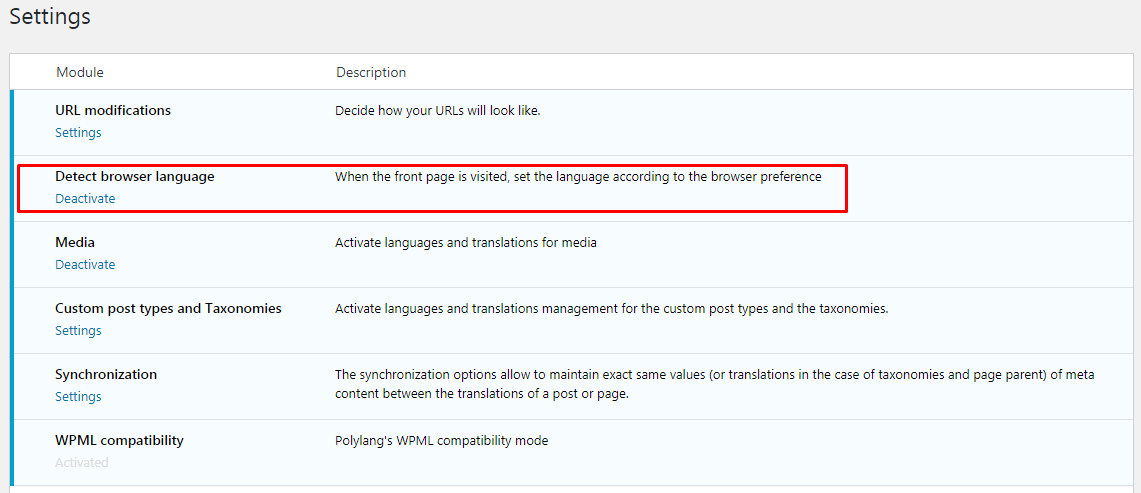
However, you may want to consider turning off the «Detect browser language» option. This feature automatically displays the site version that matches the user's browser language.
For example, if a user's browser is set to English, they'll be shown the English version of your site.
If their preferred language isn't available, the site will default to your primary language (e.g., Spanish).
To keep things simple during development and setup, we recommend disabling this feature for now.
Next, you’ll need to set up the homepage.
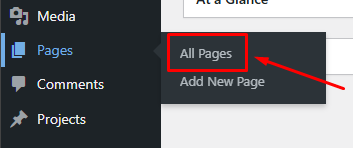
Navigate to «Pages» / «All Pages» to get started.
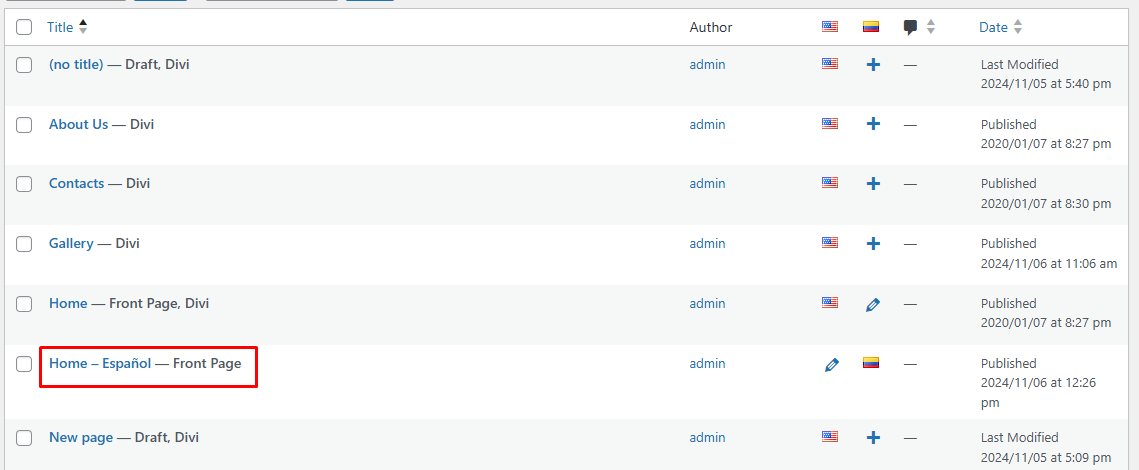
After the plugin installation, a page titled «Home — Spanish — Front Page» is automatically created for the Spanish version of your site.
By default, this page is empty, so you’ll need to add content.
To save time, you can duplicate the content from your original homepage to the Spanish version and simply update the text. This way, you won’t need to build the page from scratch.
You can find a guide on how to duplicate a page using the library [here].
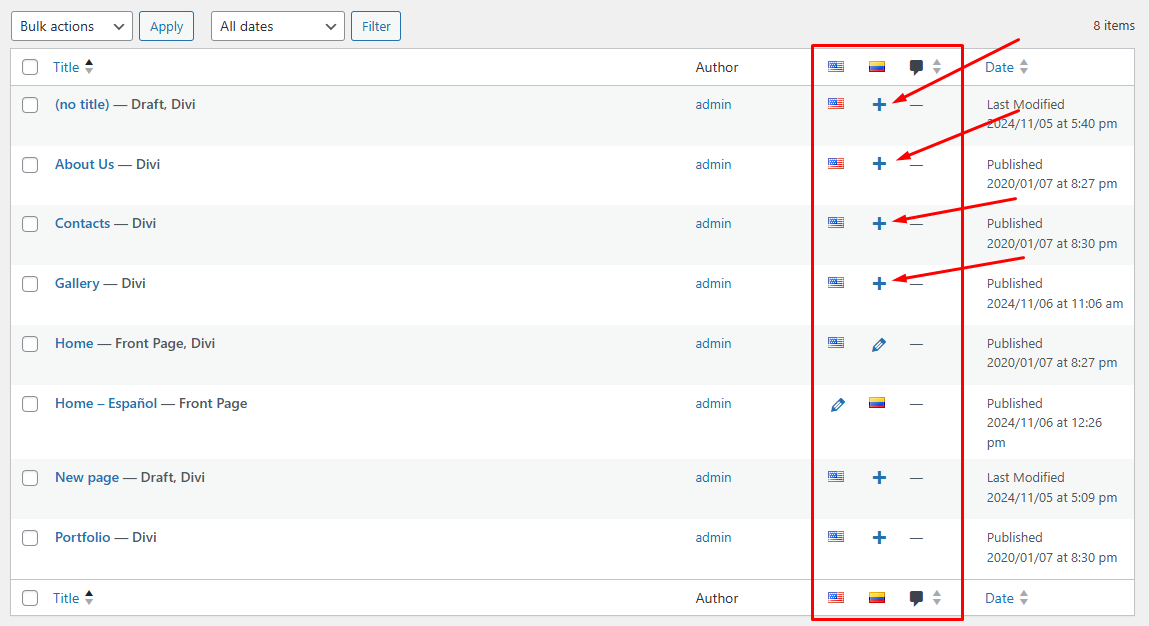
In the page list, you’ll also notice a new column displaying language versions. Click the «+» icon to create a page for the corresponding language.
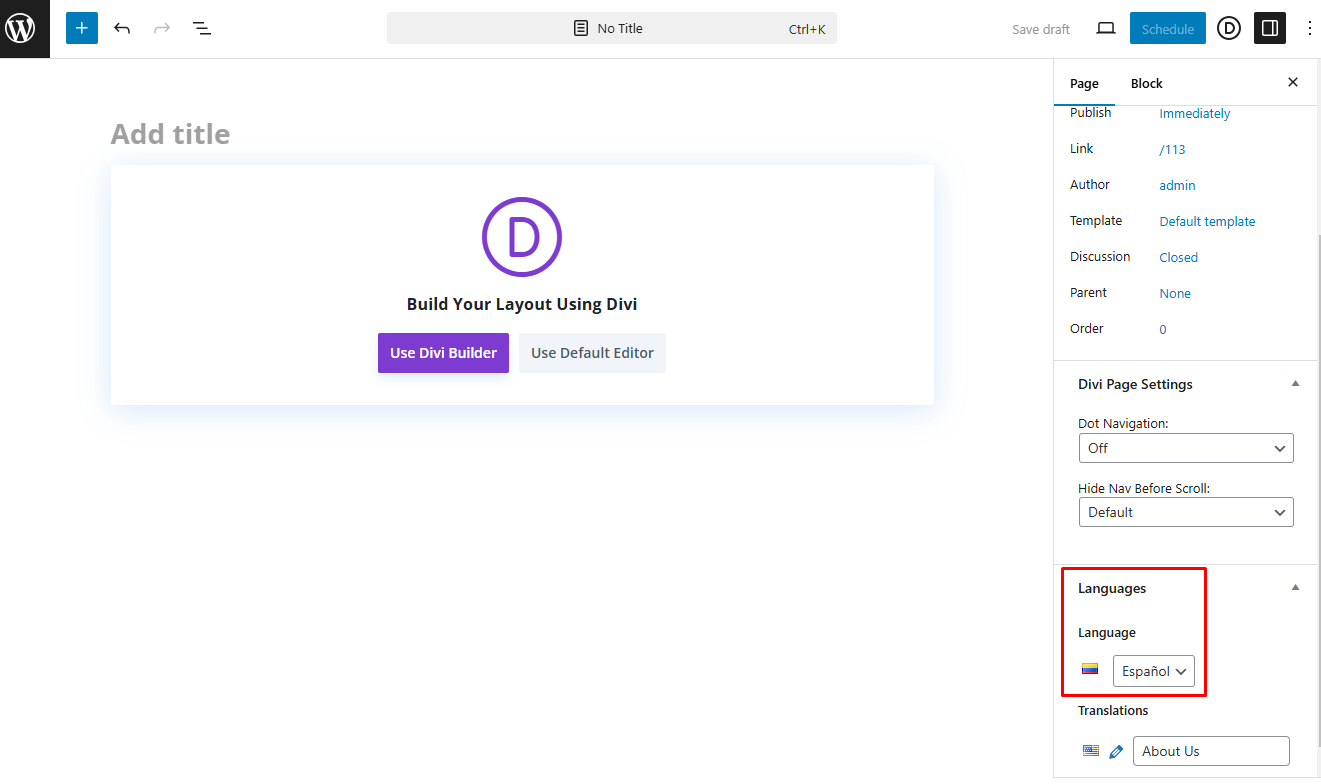
When creating a new page, be sure to assign the correct language in the sidebar settings to link it to its corresponding language version.
To enable a multilingual site, you’ll need to add a language switcher so users can easily toggle between languages.
Here’s how to set it up:
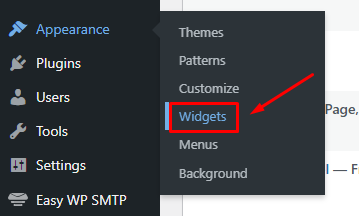
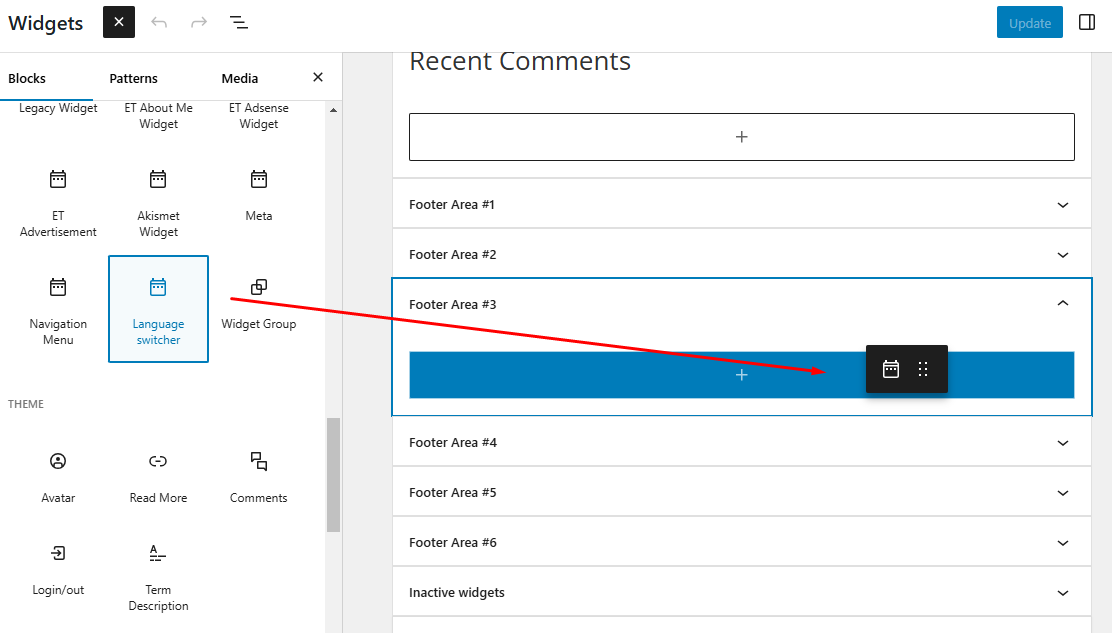
Navigate to «Appearance» / «Widgets».
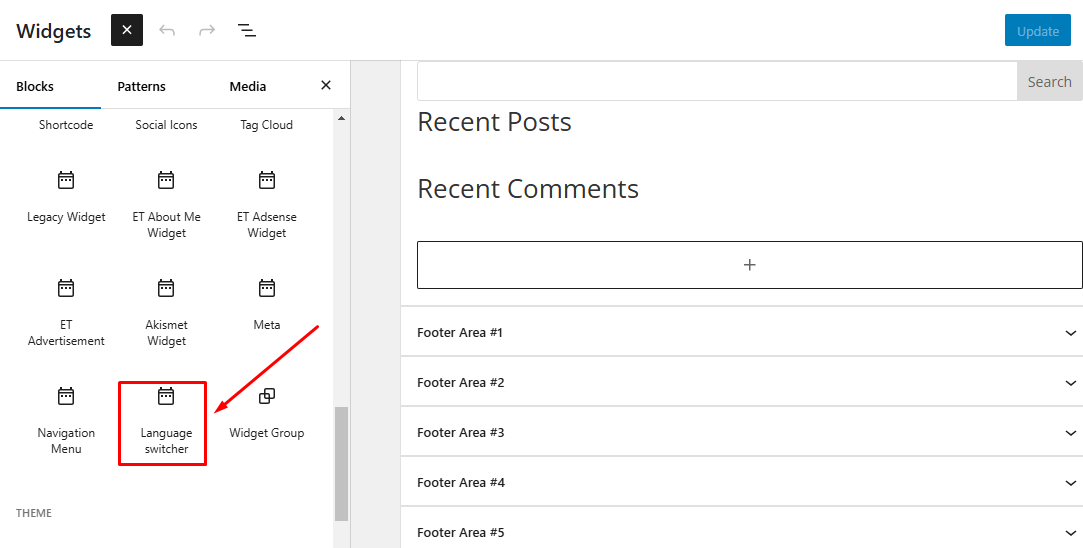
Here, look for the «Language Switcher» widget.
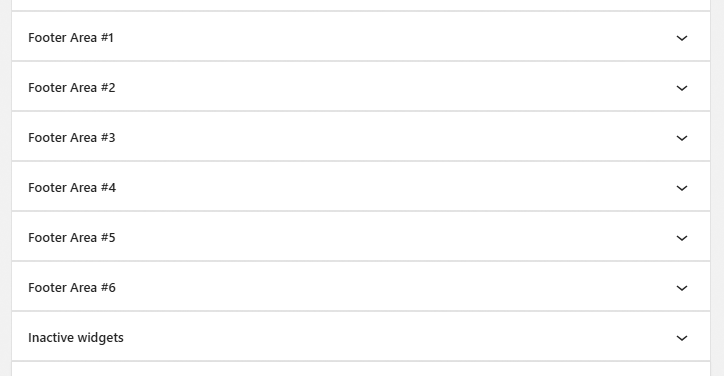
On the right, you'll find sections labeled «Footer Area #1» to «Footer Area #6», which are designated spaces for adding widgets to your website's footer.
The number of active areas depends on your theme. In this example, four blocks are available for use.
To add the language switcher to your site, drag the «Language switcher» widget into one of the active footer areas.
In this example, we’ll place it in «Footer Area #4».
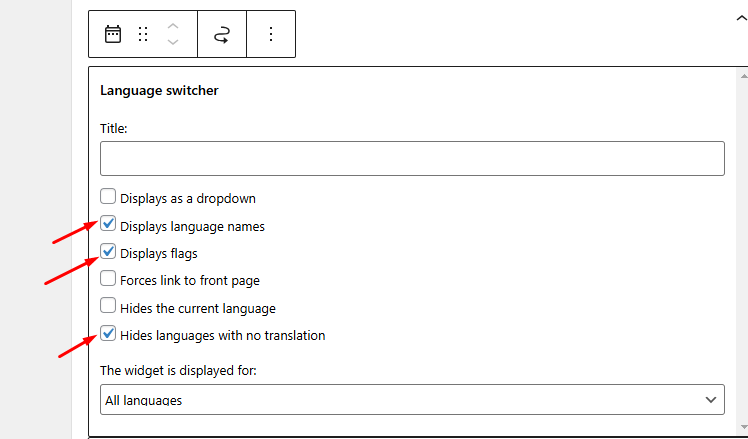
Make sure to select «Display flags» and «Hide languages with no translation» for a clean and user-friendly language switcher. Once done, click «Save» to apply the changes.
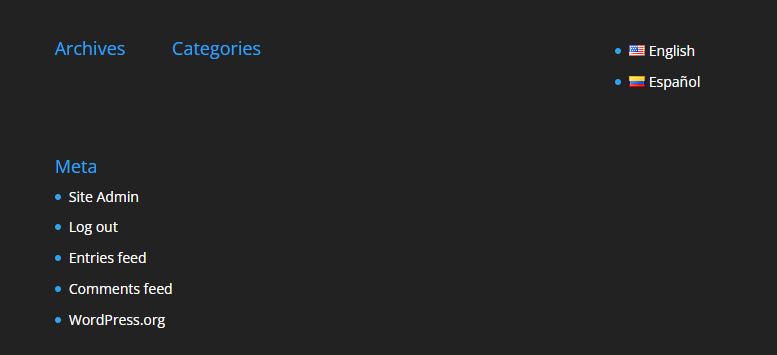
Visit your website to ensure the language switcher is functioning correctly and displaying as expected.


